
Frisbii Media WordPress plugin
Our WordPress plugin can integrate and enable Frisbii Media with minimal configuration. The plugin uses the Frisbii Media PHP-SDK. This way all the functionality that is available in the Frisbii Media PHP-SDK can also be added manually.
Installation
The plugin can be found in the Plugins section, click here to see an overview of the plugin.
In order to install the plugin you must do the following steps:
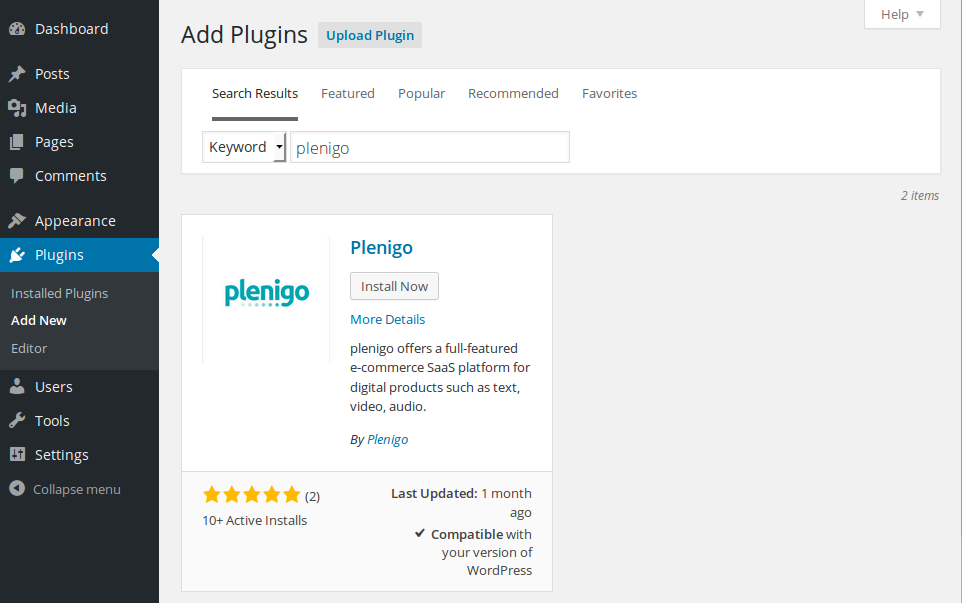
- Log into your WordPress admin and go to ‘Add New’ in the menu ‘Plugins’ and search for ‘plenigo’. In the search result click ‘Install Now’.
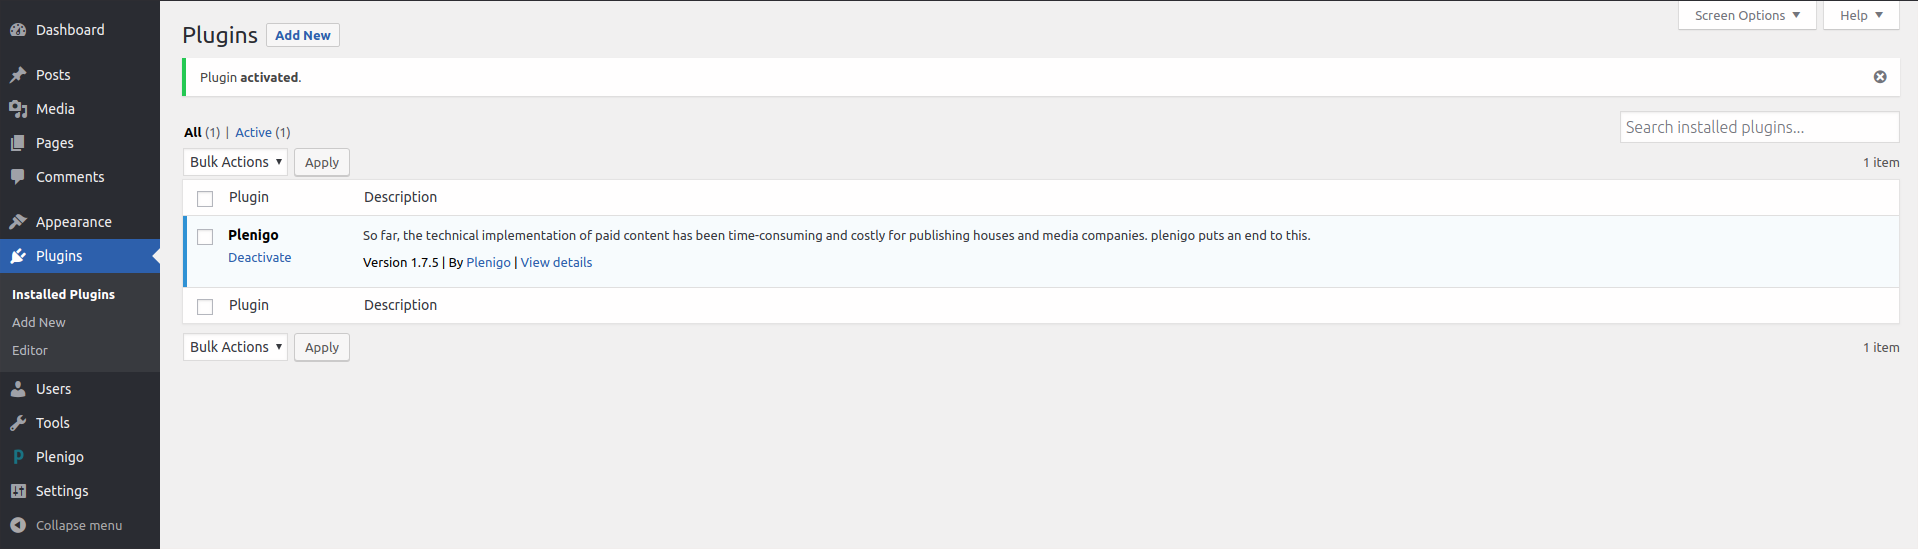
- After the installation is successful you have to activate the plugin. To activate it open the Plugins section again and click the Activate link below the plugin name.

- If the activation was successful you should see a new menu entry on the right side called Plenigo, like in the image below.
General configuration

General configuration allows you to set the main attributes required to start using the plugin.
Basic configuration
To configure this screen you need to set the company id and the private key. You can get this information from the Frisbii Media merchant backend by going to Settings > Company Data, an image below shows how the screen looks like:
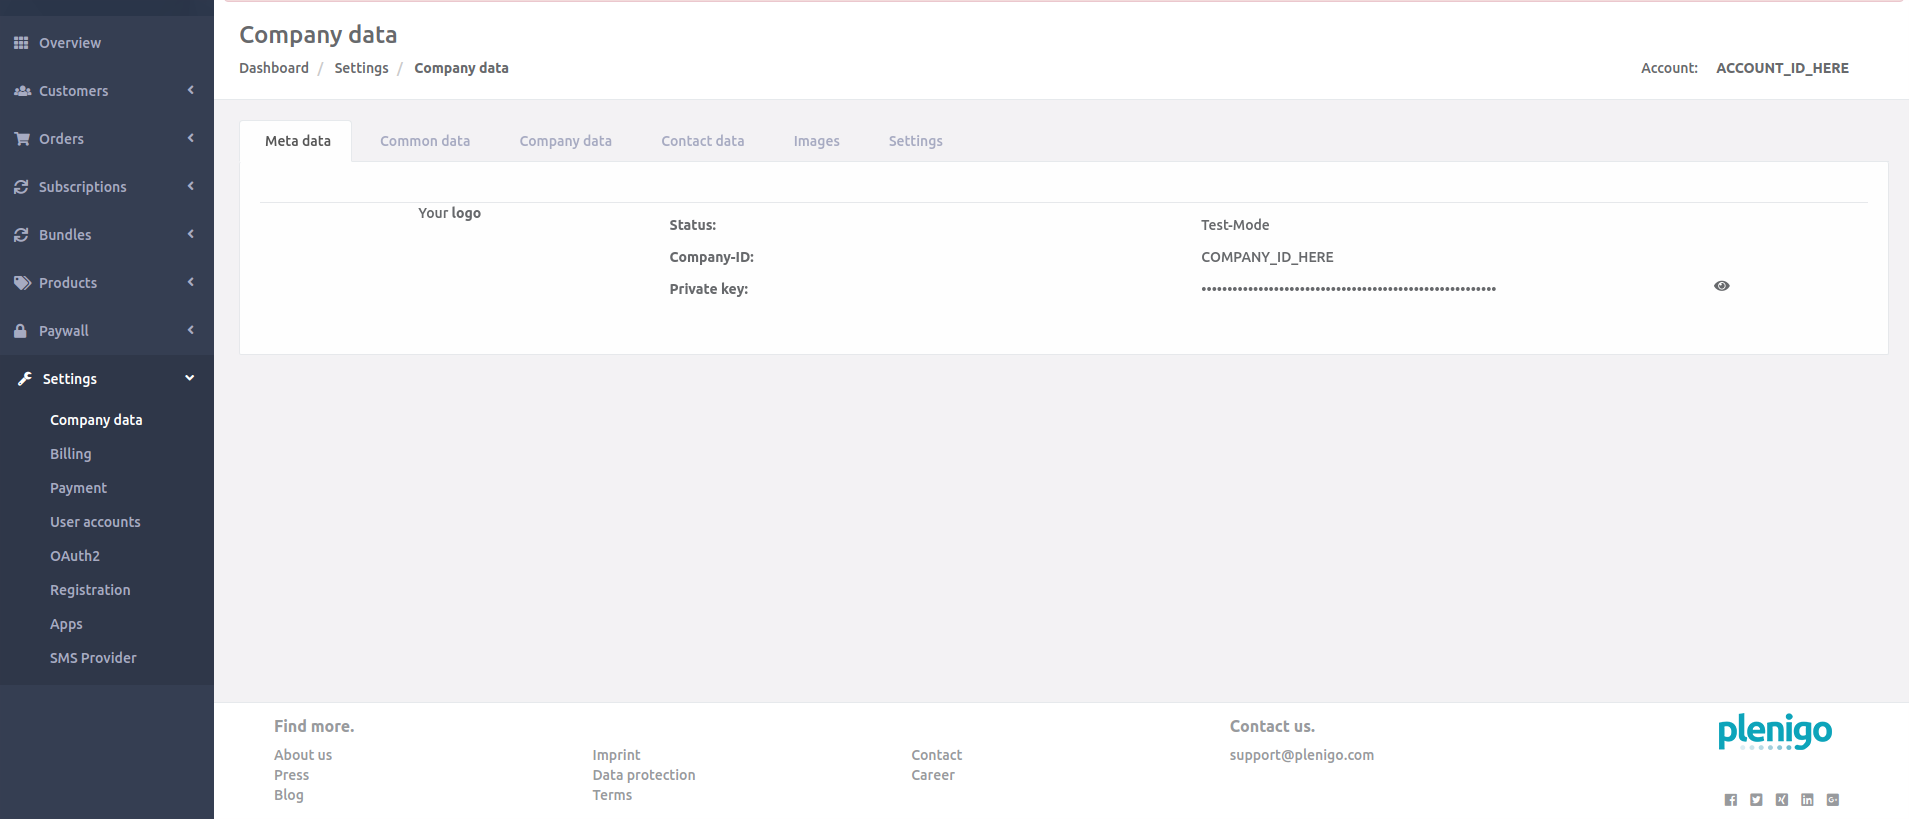
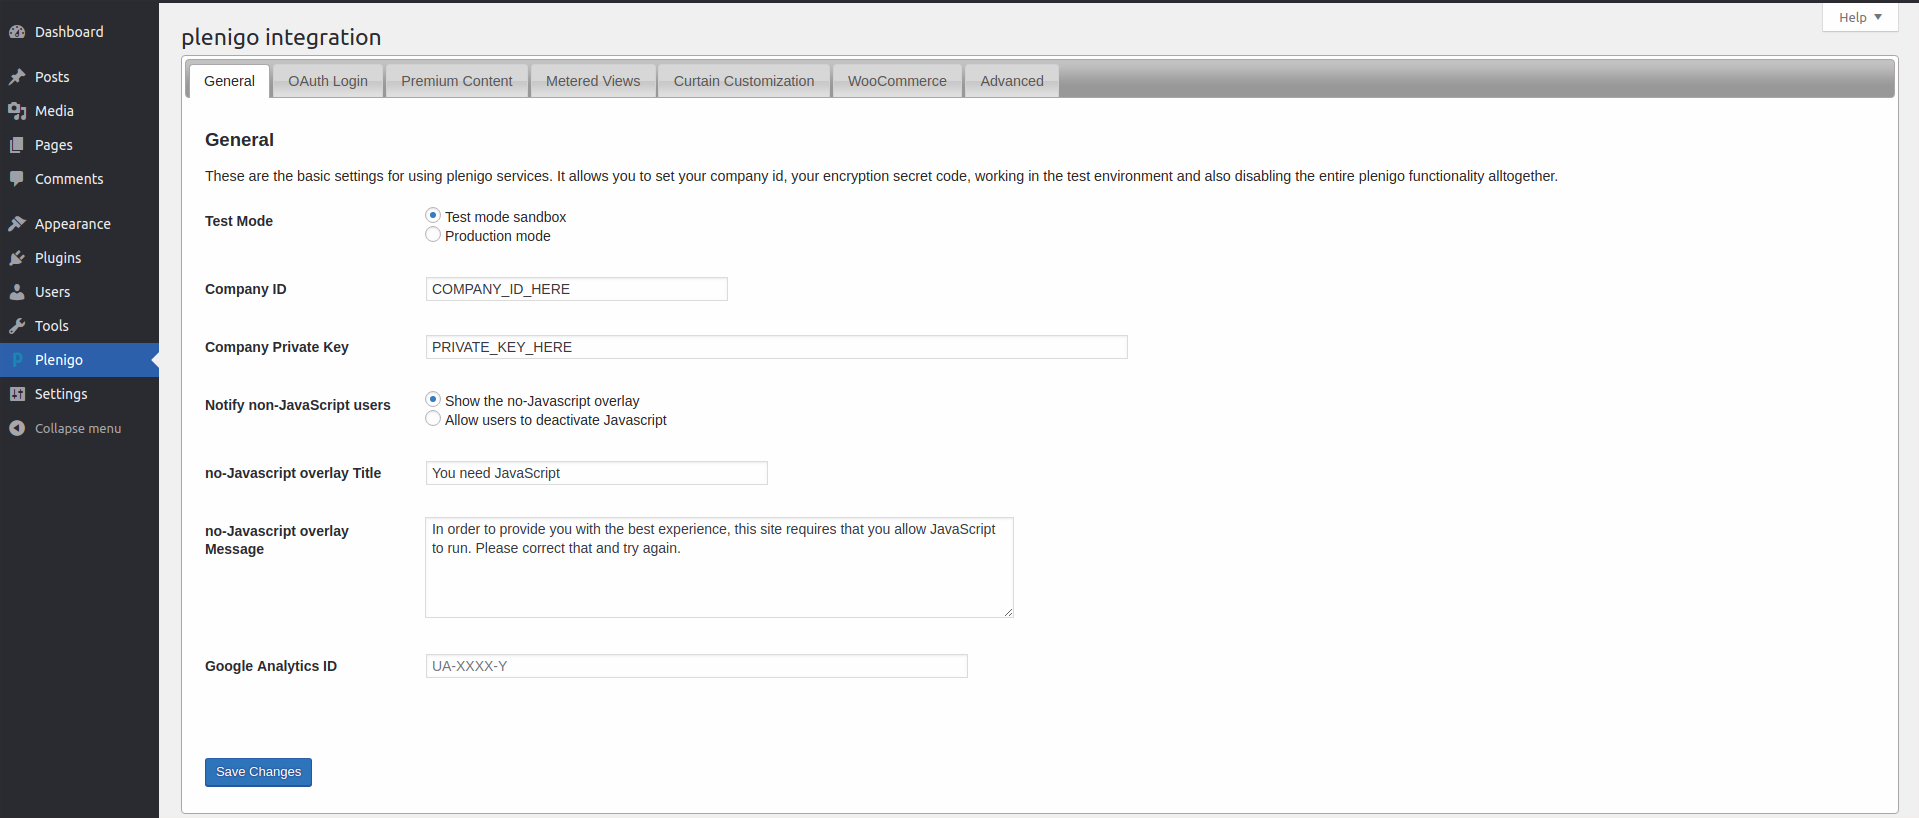
Once you have this you can copy it to the General tab fields and to save the settings you must click on the Save Changes button.
Test Mode
If you want to test your account without making real transactions then using the Test mode sandbox would be the best way to do it, by default this is the selected behavior so that the client can test his site before enabling live transactions, when you are ready with your site and want to enable real transactions, you must select the Production Mode option.
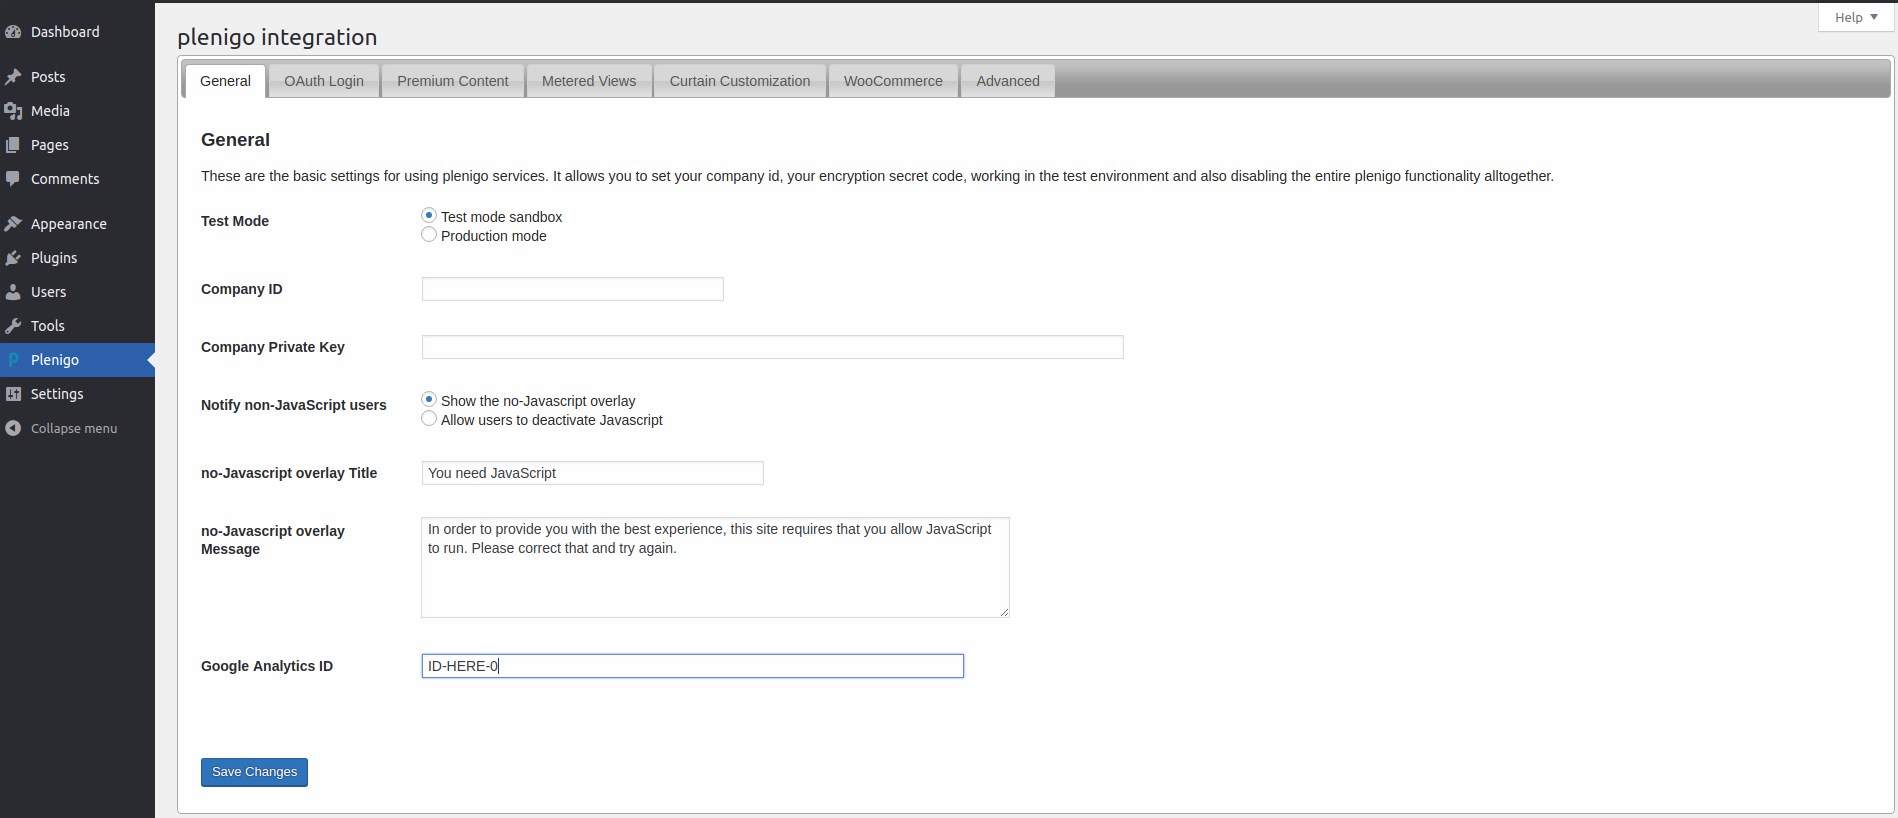
JavaScript Configuration
For the JavaScript configuration you can choose if the user will see a no-javascript message when he has it disabled, if you do not want to you can select the Allow users to deactivate JavaScript, otherwise you can configure the title and the message of the JavaScript message, an example of the default JavaScript screen below.
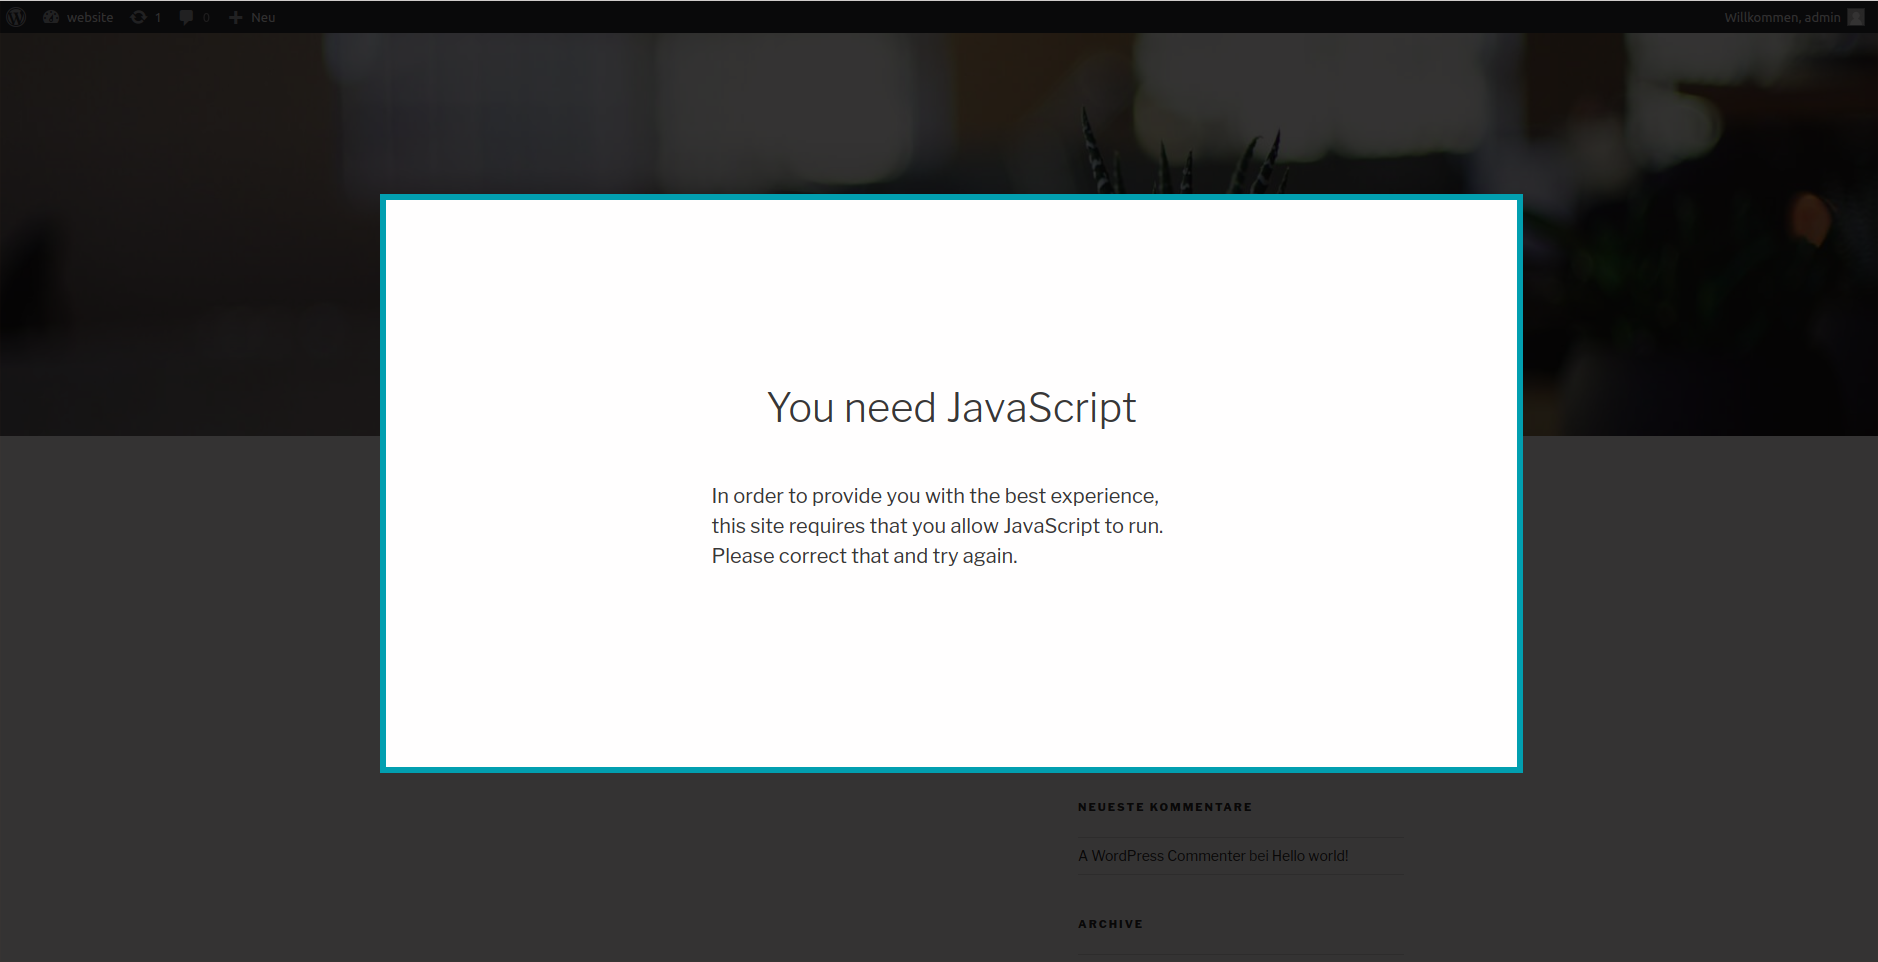
You can also customize the no-javascript message by replacing the default one with the No JavaScript message template.
Google Analytics
If you want to collect information about visits and people that have bought certain products you can do so through Google Analytics, in order to do this you only need to configure your Google Analytics ID in the general section and to save the settings you must click on the Save Changes button.
There are various events that get collected with Google Analytics, like:
- Metered exempt visits
- Product bought visits
- Free view visits
- Curtain visits
- Curtain preventions
- Category Matches
- Product Matches
- Category and product matches
You can also customize the javascript startup script by replacing the default one with the Google Analytics template.
OAuth Login
OAuth enables your WordPress installation to register Frisbii Media users as WordPress users with their profile information after it has been authenticated with the Frisbii Media system.
Frisbii Media recommends to install a plugin that disables the default WordPress user profile for the default user role if you enable the OAuth login.
Basic configuration
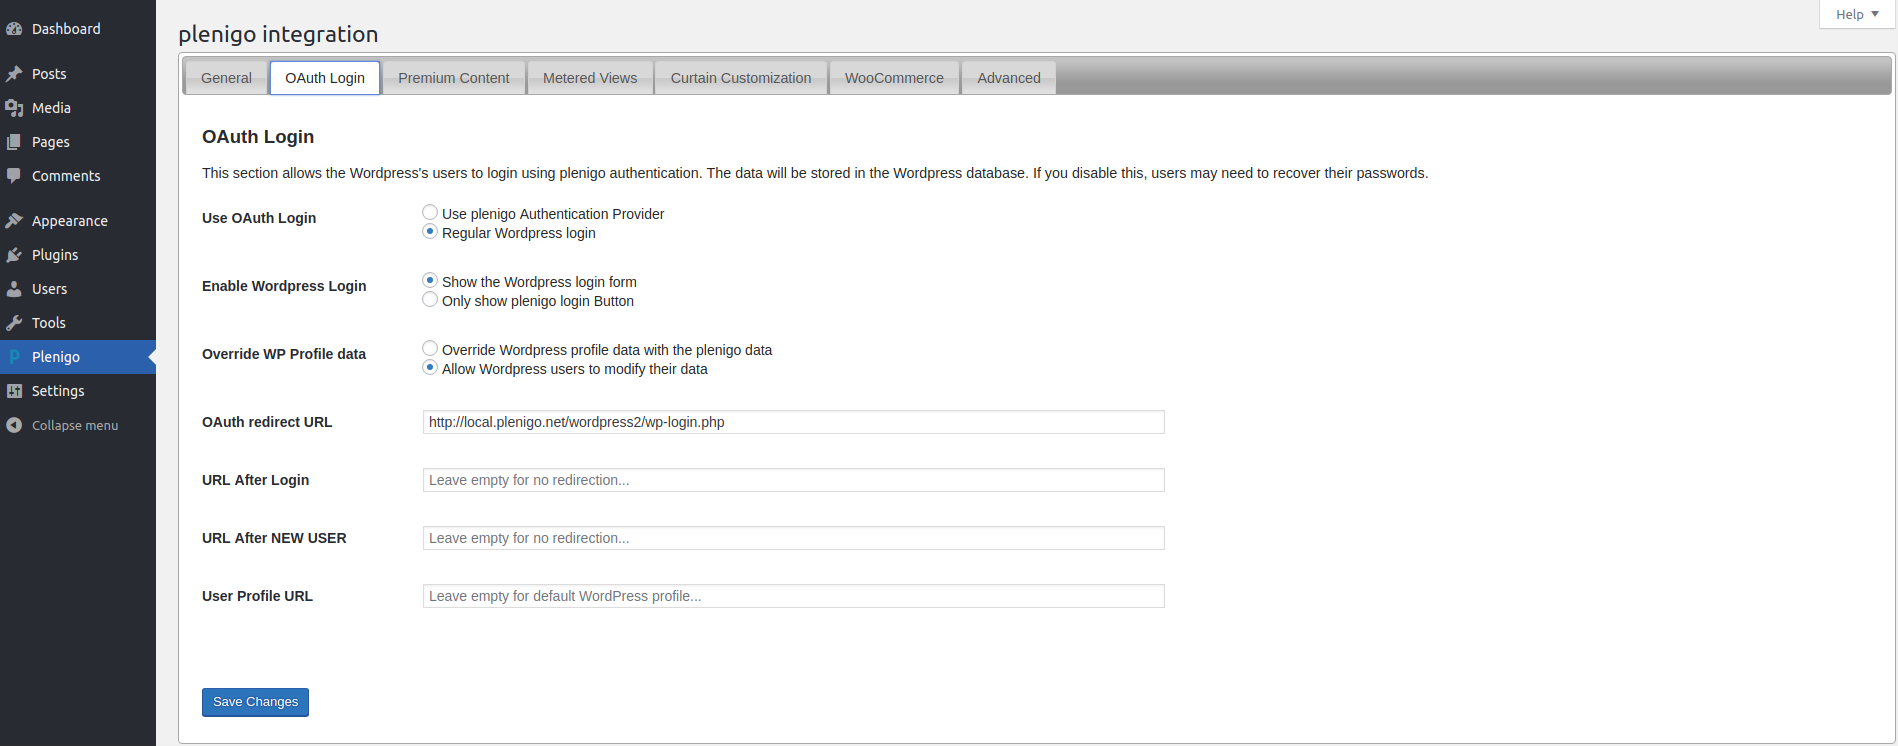
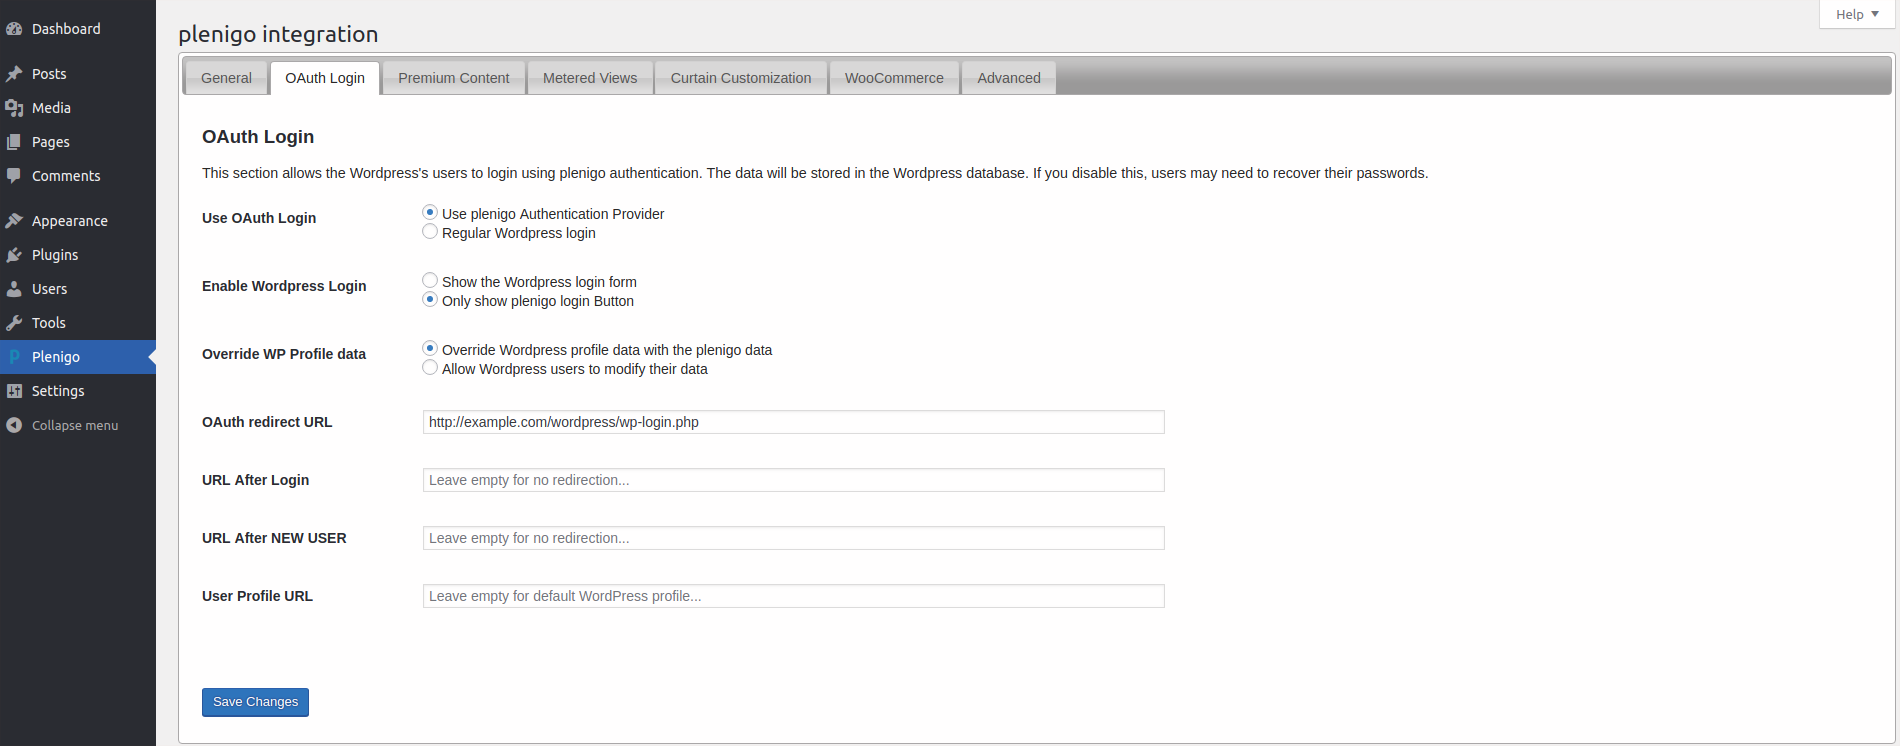
Open the tab OAuth Login in the plenigo plugin and change the settings the following way:
- Use OAuth Login -> Use plenigo Authentication Provider
- Enable WordPress Login -> Only show plenigo login form
- Override WP Profile data -> Override WordPress profile data with the plenigo data
Below there is an image of the recommended settings:
To finish up you have to set an OAuth redirect URL. This is needed because OAuth2 is a standardized protocol that needs a server to server communication.
The URL you enter here will be called after the authentication process on Frisbii Media is finished. The target page processes the values returned by Frisbii Media and is going to redirect the user. Normally this page will never be seen by the user so you should choose one that is rendered very fast. The default WordPress login is a good start.
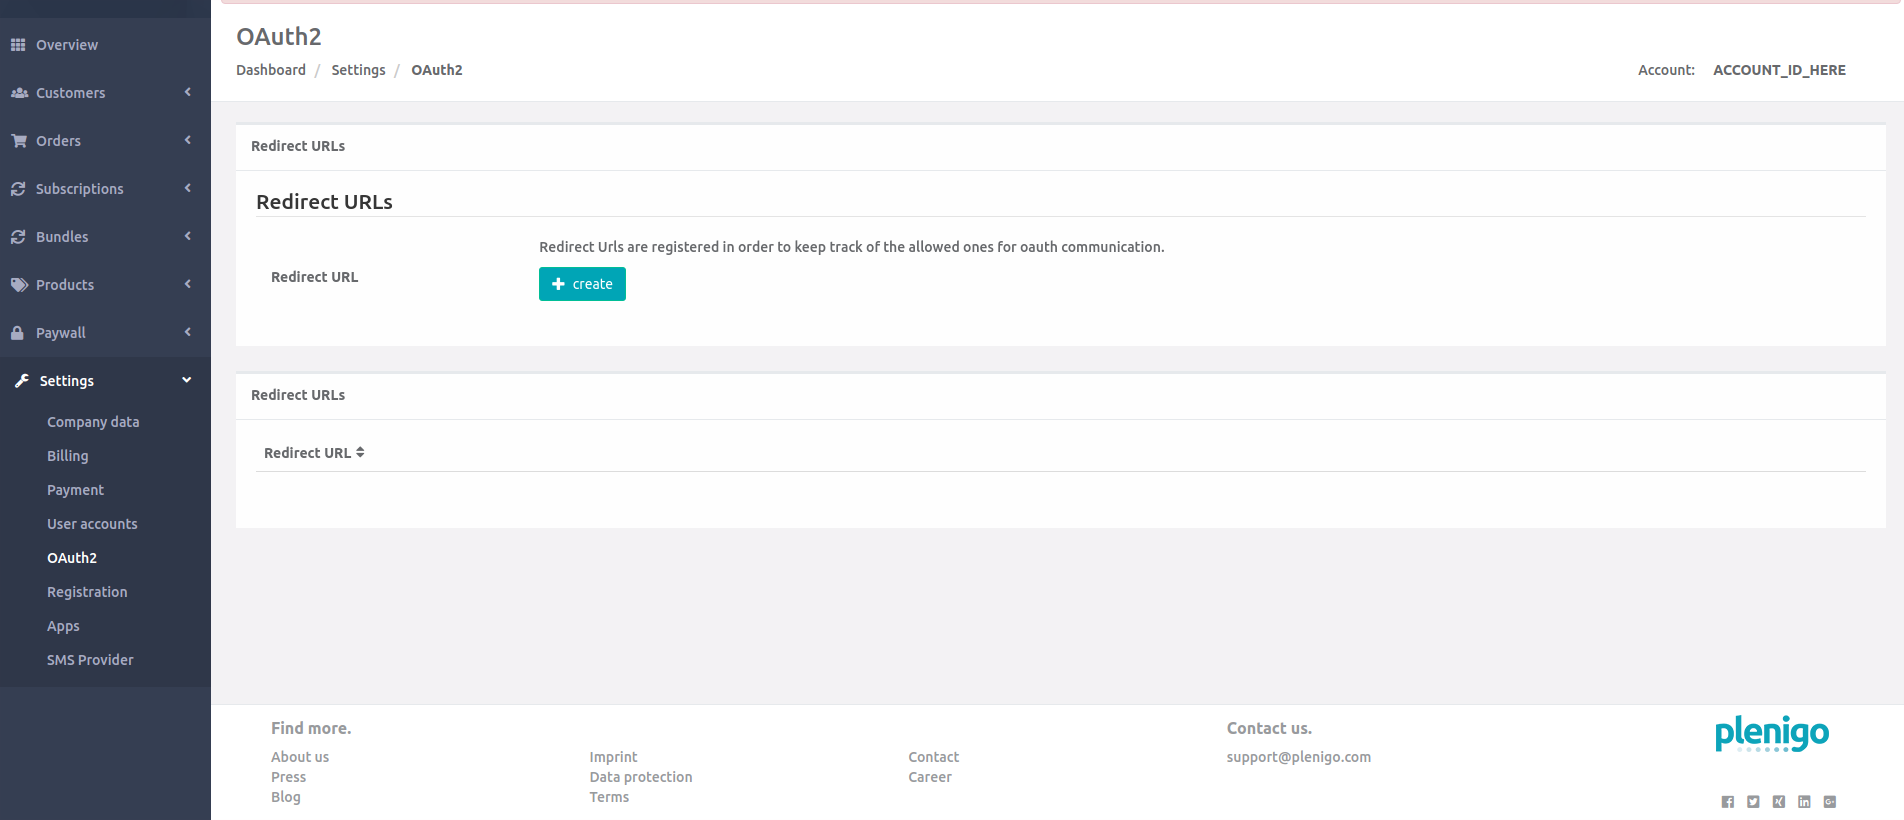
Once you know which URL to choose you must also configure it in the Frisbii Media merchant backend, instructions below:
- You must go to Settings > OAuth2 and add the URL(for maintenance purposes, it is better to just add the base URL, so add http://example.com instead of http://example.com/wordpress/wp-login.php for example, once you do this, all URLs that start with http://example.com will be valid).
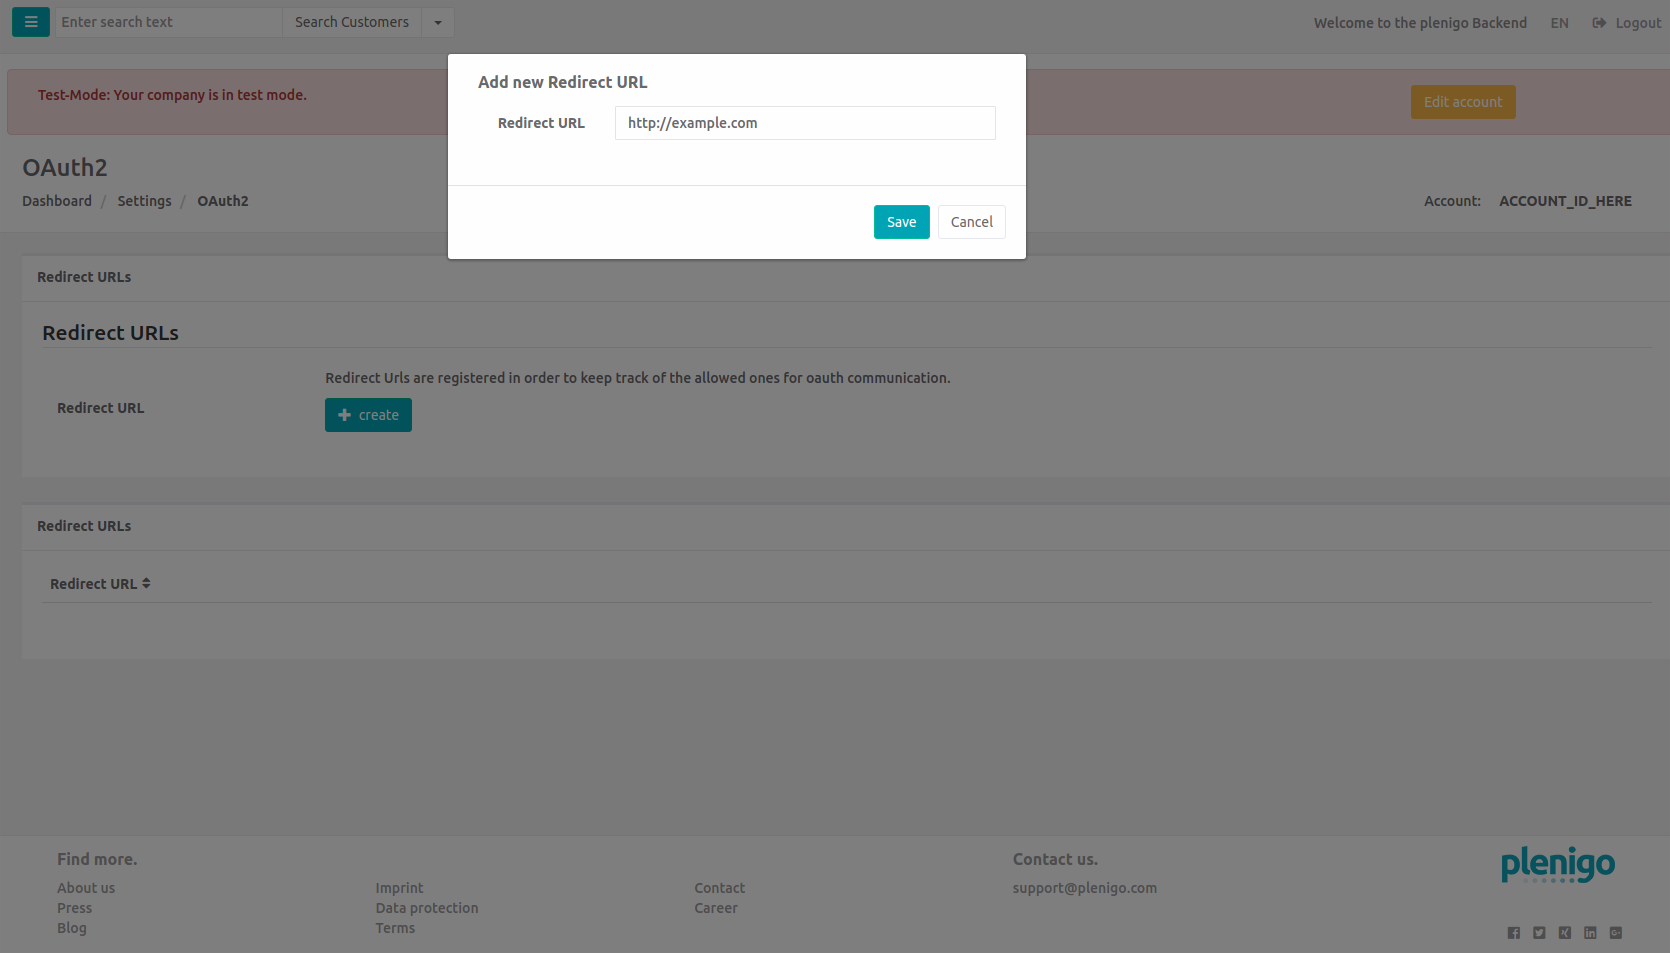
- Click on create and a dialog will pop up, insert the redirect URL:
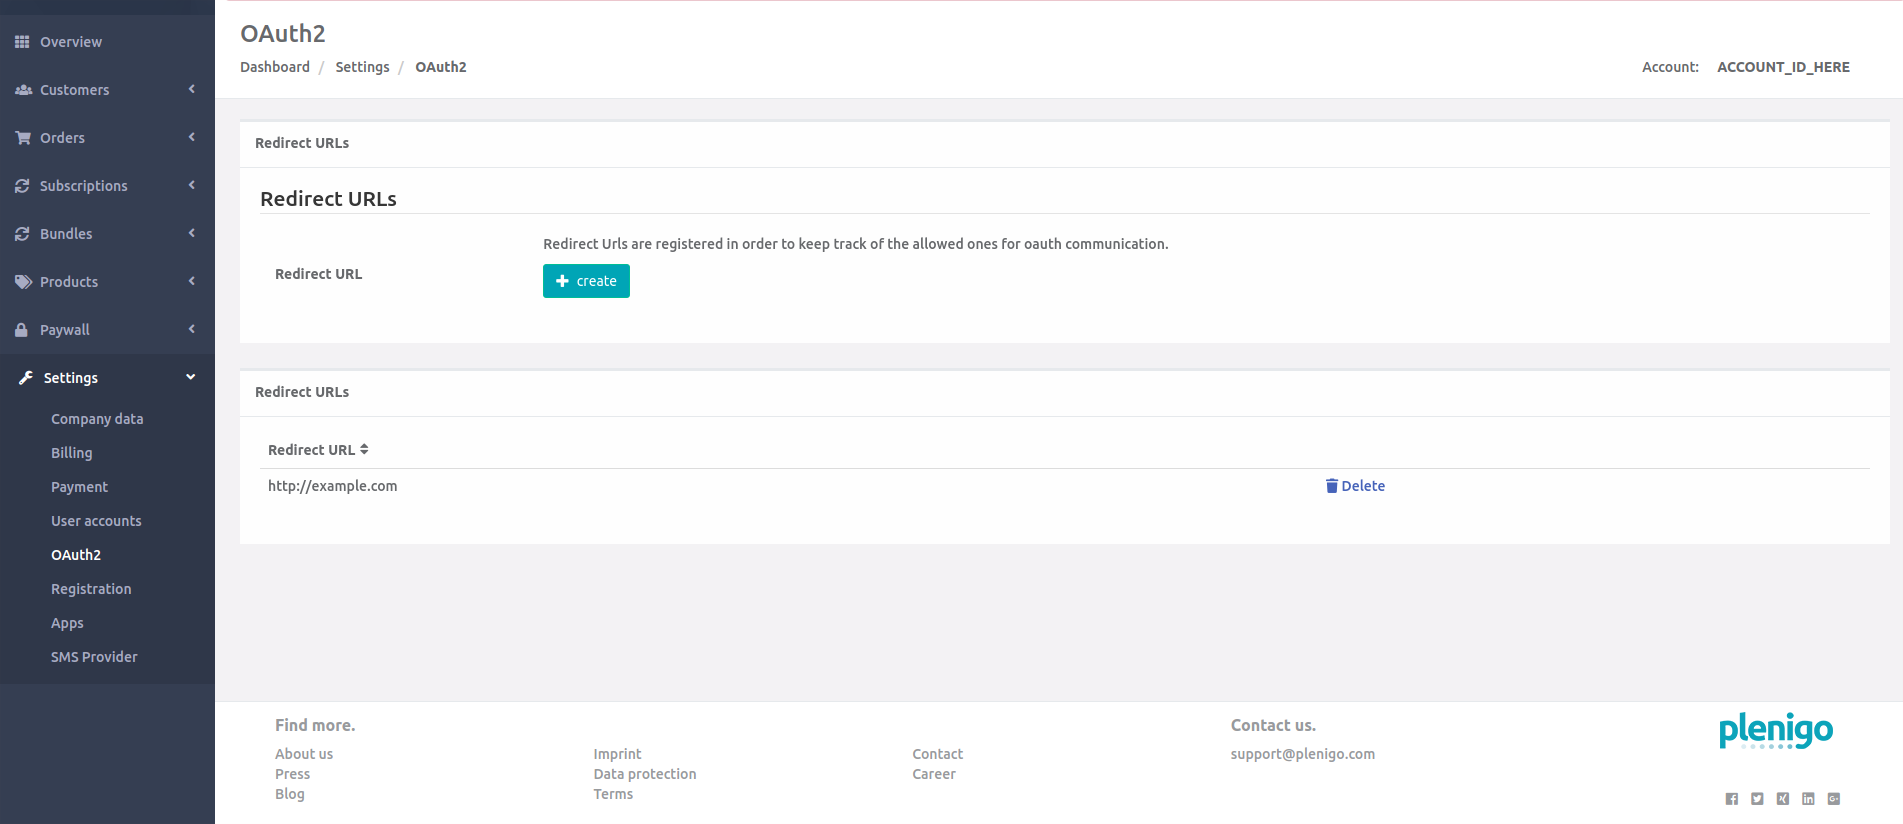
- If the URL was successfully added you will see it in the Redirect URLs table in the bottom area.
After you have done this the basic configuration for OAuth will be done, in order to provide the user a way to login, you can place the login widget in your page.
Login Widget
The login widget gives the user a way to do things such as:
- Login
- Logout
- Edit Profile
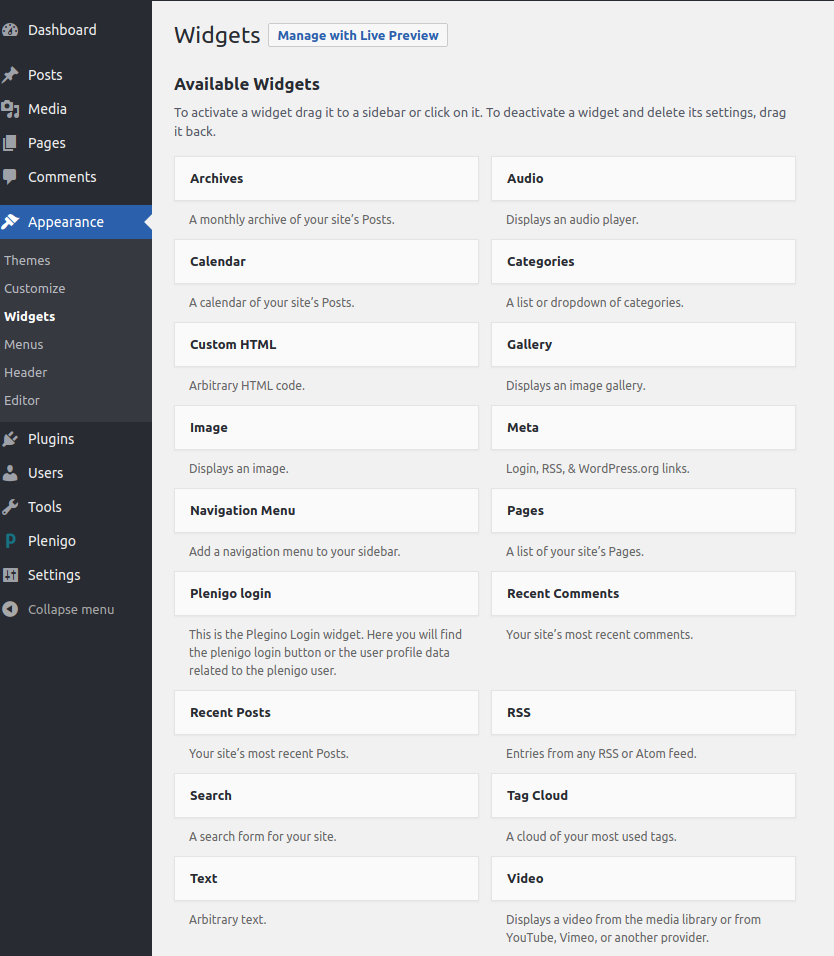
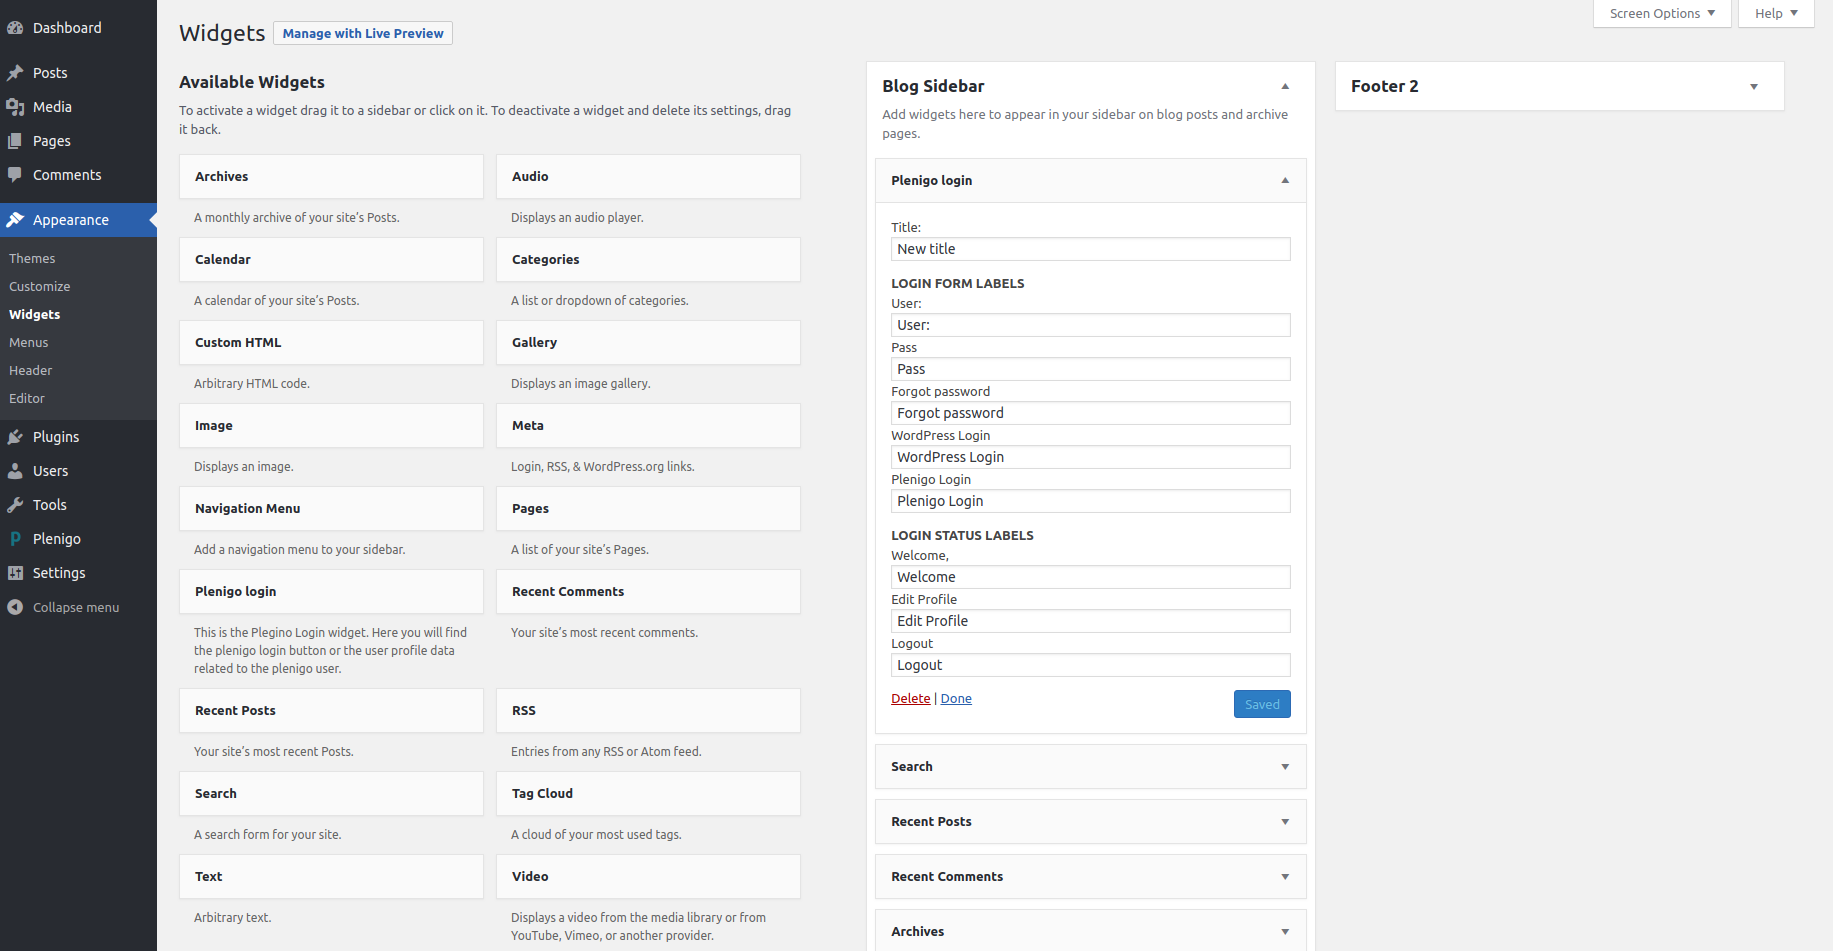
After you have enabled the Use plenigo as an Authentication Provider setting, you can use the widget, in order to add it somewhere in your site, you must go to Appearance > Widgets, and then you should see a square named plenigo login.
You can place the widget in the available areas just like a normal widget, although depending on the theme there might be some areas where you cannot place the widget and see it correctly.
These are usually styling issues that can be solved by replacing the Not Logged In widget and Logged In widget templates with one that can fit your theme style.
In this example, we will place the widget in the top of the Blog Sidebar area of the example WordPress site, you can edit the text shown in the login button so that it suits your site(so labels like welcome message, username, password, login button, etc can be changed). An image below with the configurations can be seen:
After placing it here we can see different displays when using the button with different configurations.
- Login widget with Show the WordPress login form option selected
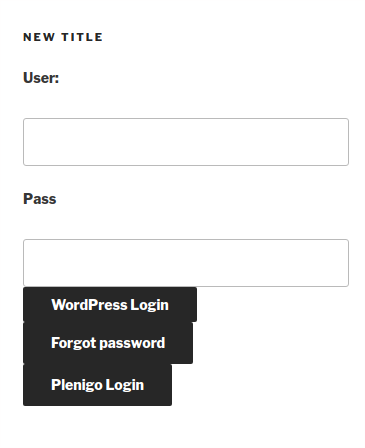
- Login widget with Only show plenigo login button option selected

The looks vary depending on the theme, when the user is logged in the widget shows the profile and the logout button.
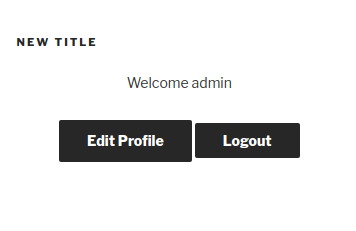
The Edit Profile button by default sends the user to the WordPress profile page, if you would like to change this link so that it is another one, you must edit the User Profile URL.
URLs
There are various URLs you can change in the OAuth Login settings, the only one required is OAuth redirect URL which will redirect the user to a page with the authentication information.
The other ones are optional but can help you achieve desired functionality like:
-
URL After Login: The user will be redirected to this after he has logged in with plenigo.
-
URL after NEW USER: The user will be redirected to this after he has registered for the first time.
-
User Profile URL: This is the site where the profile editing features will be, by default is the WordPress profile screen, below there is an image of the Edit Profile button.
Premium Content
The premium content settings allow you to paywall content based on tags, you can:
- Relate tags to products(if the user did not buy the product, a curtain will be shown).
- Relate tags to categories(if the user did not buy a product within that category, a curtain will be shown).
- Relate tags to prevent payment(these are articles that you want to paywall even though you already paywalled it with another tag).
Basic configuration
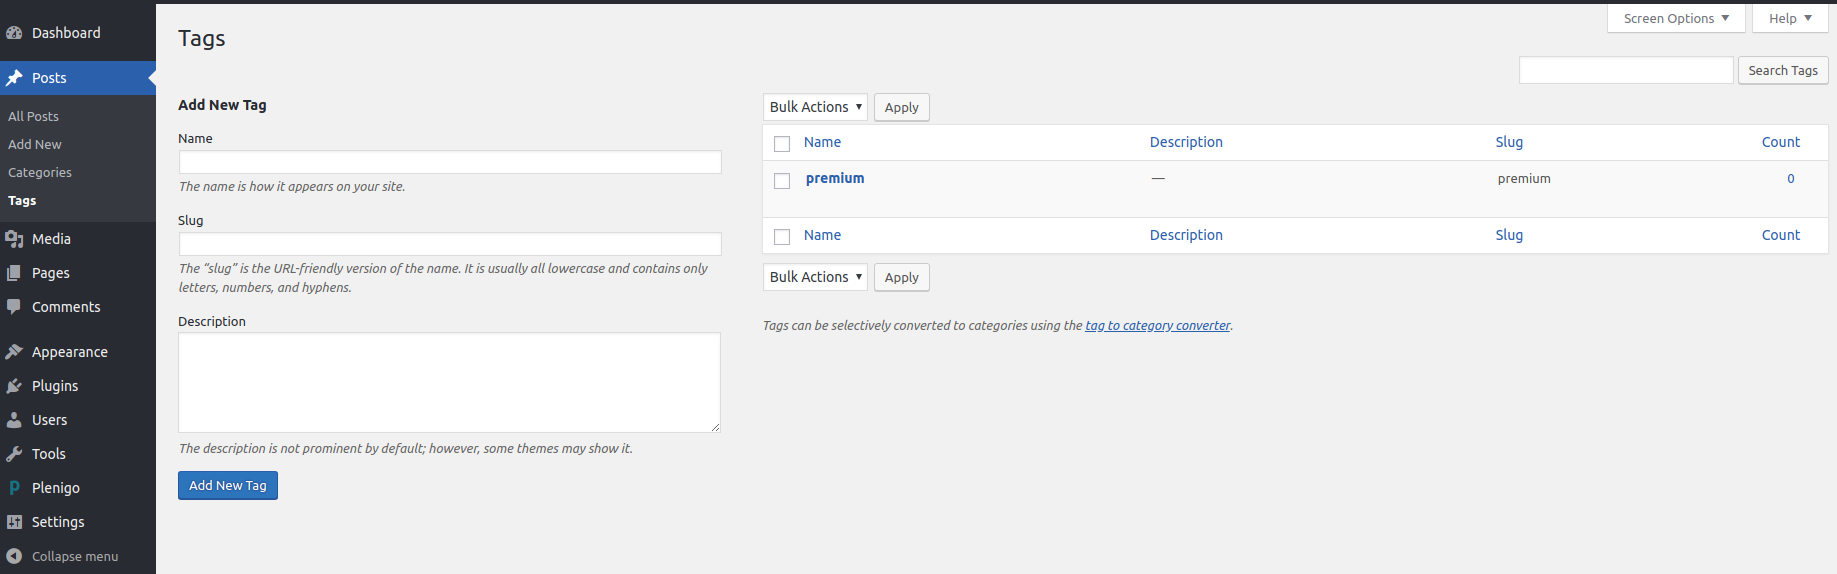
Start with creating a new tag. On the WordPress sub-menu “Posts”->”Tags”, enter a new tag. You can also use an existing tag, our example assumes a new tag.
In this example, we create a new tag with the name “premium”.
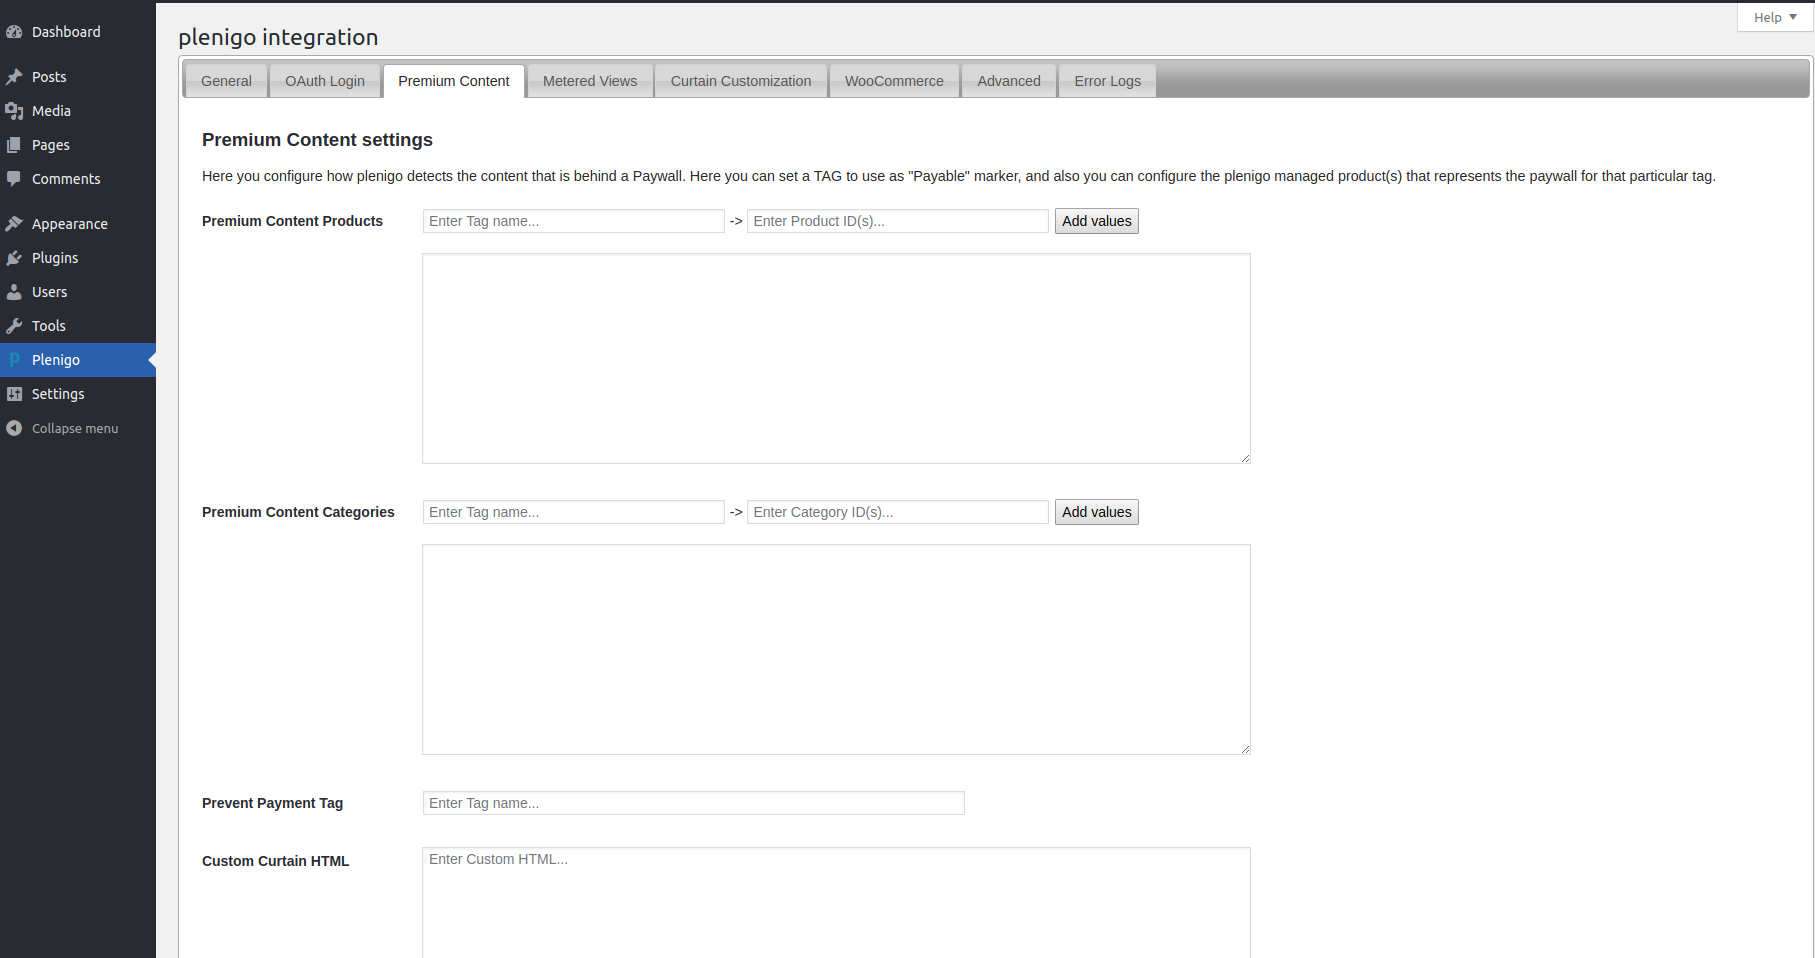
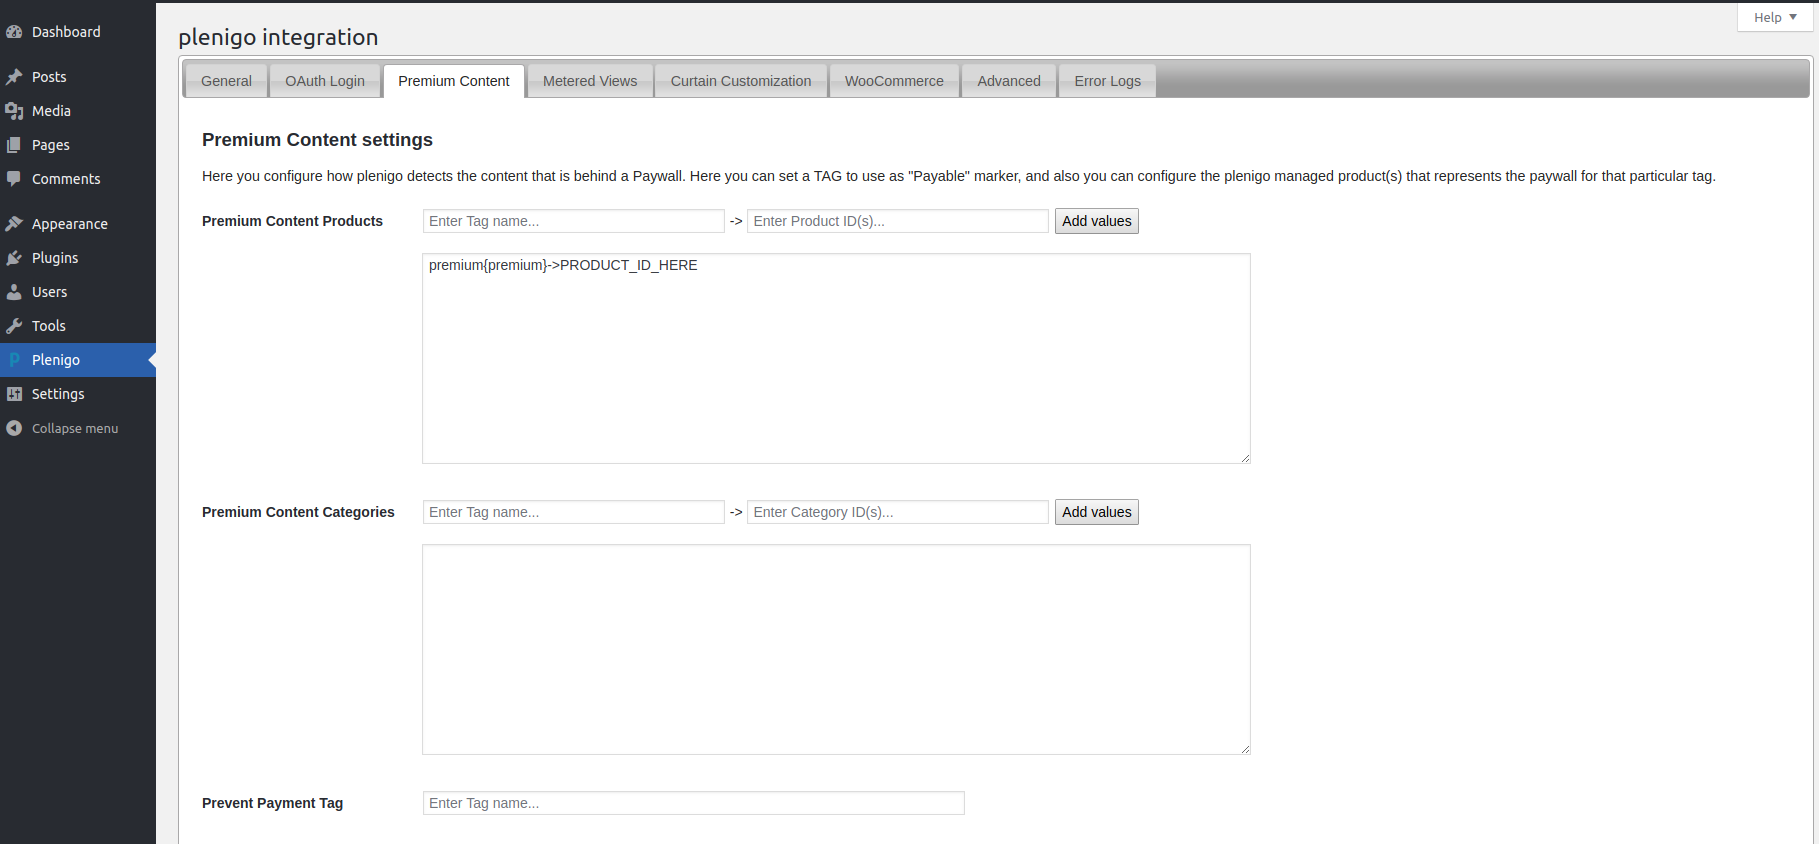
After that open the plenigo plugin tab Premium Content.
Enter the tag name “premium” into the first field.
Don’t copy the tag name, start writing and accept the appropriate suggestion otherwise your tag won’t be recognized correctly.
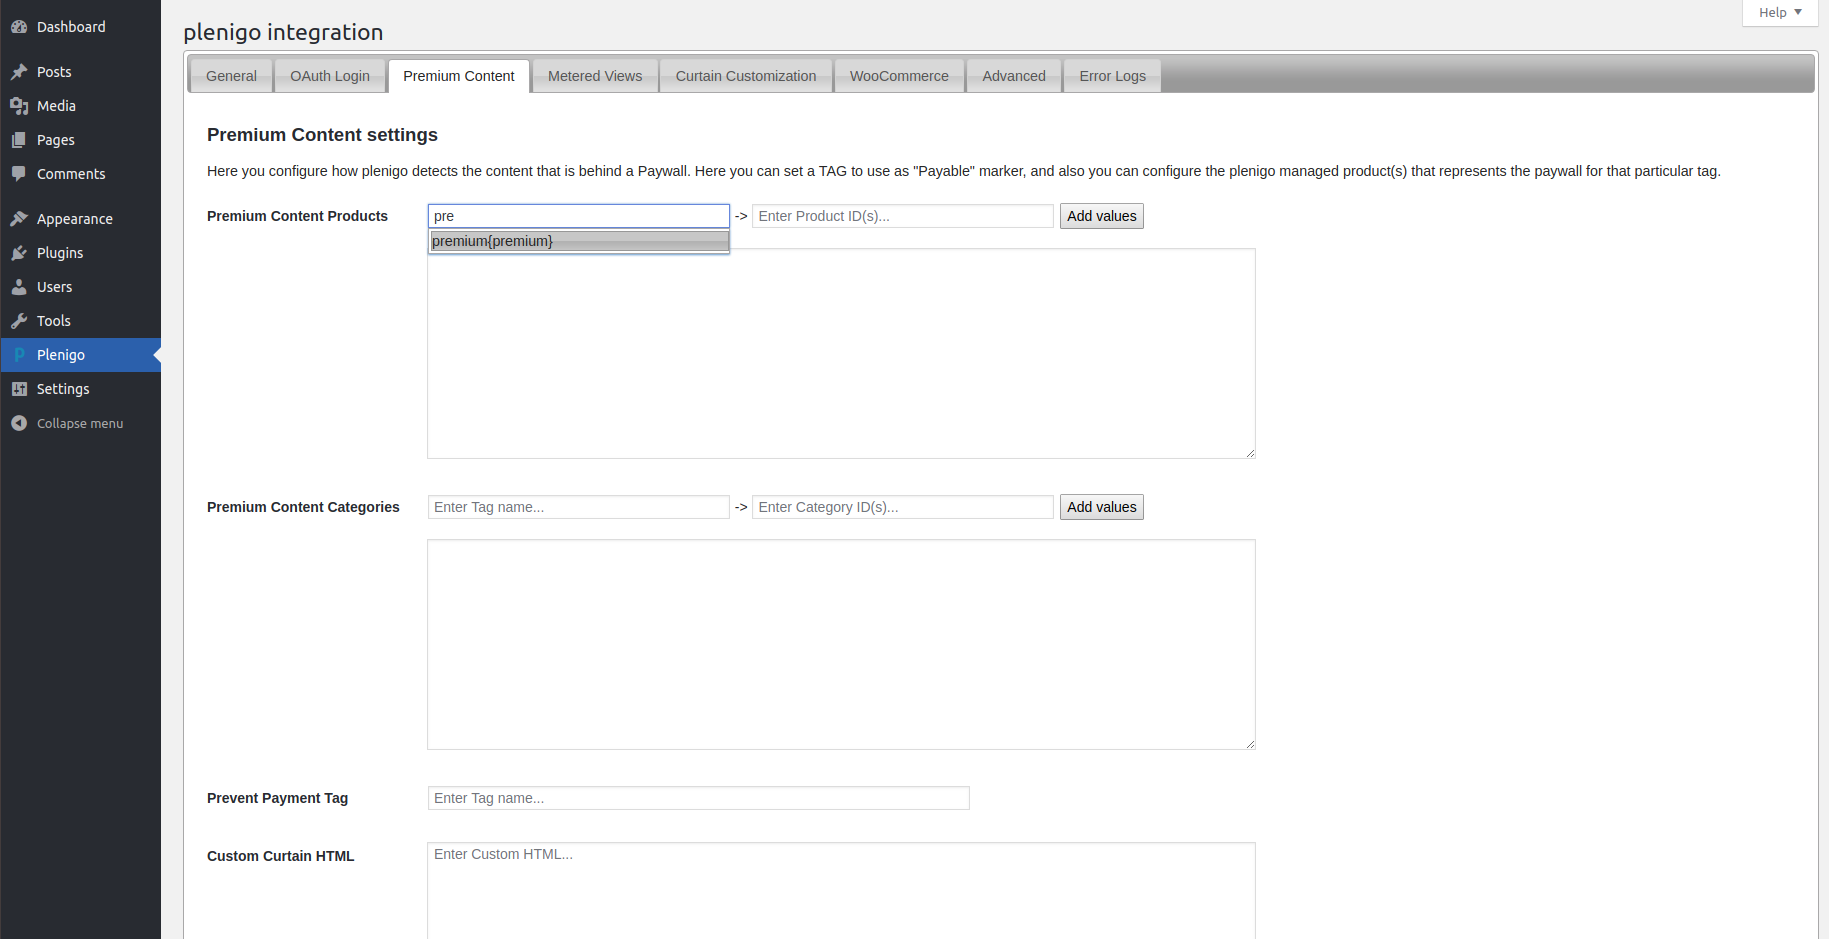
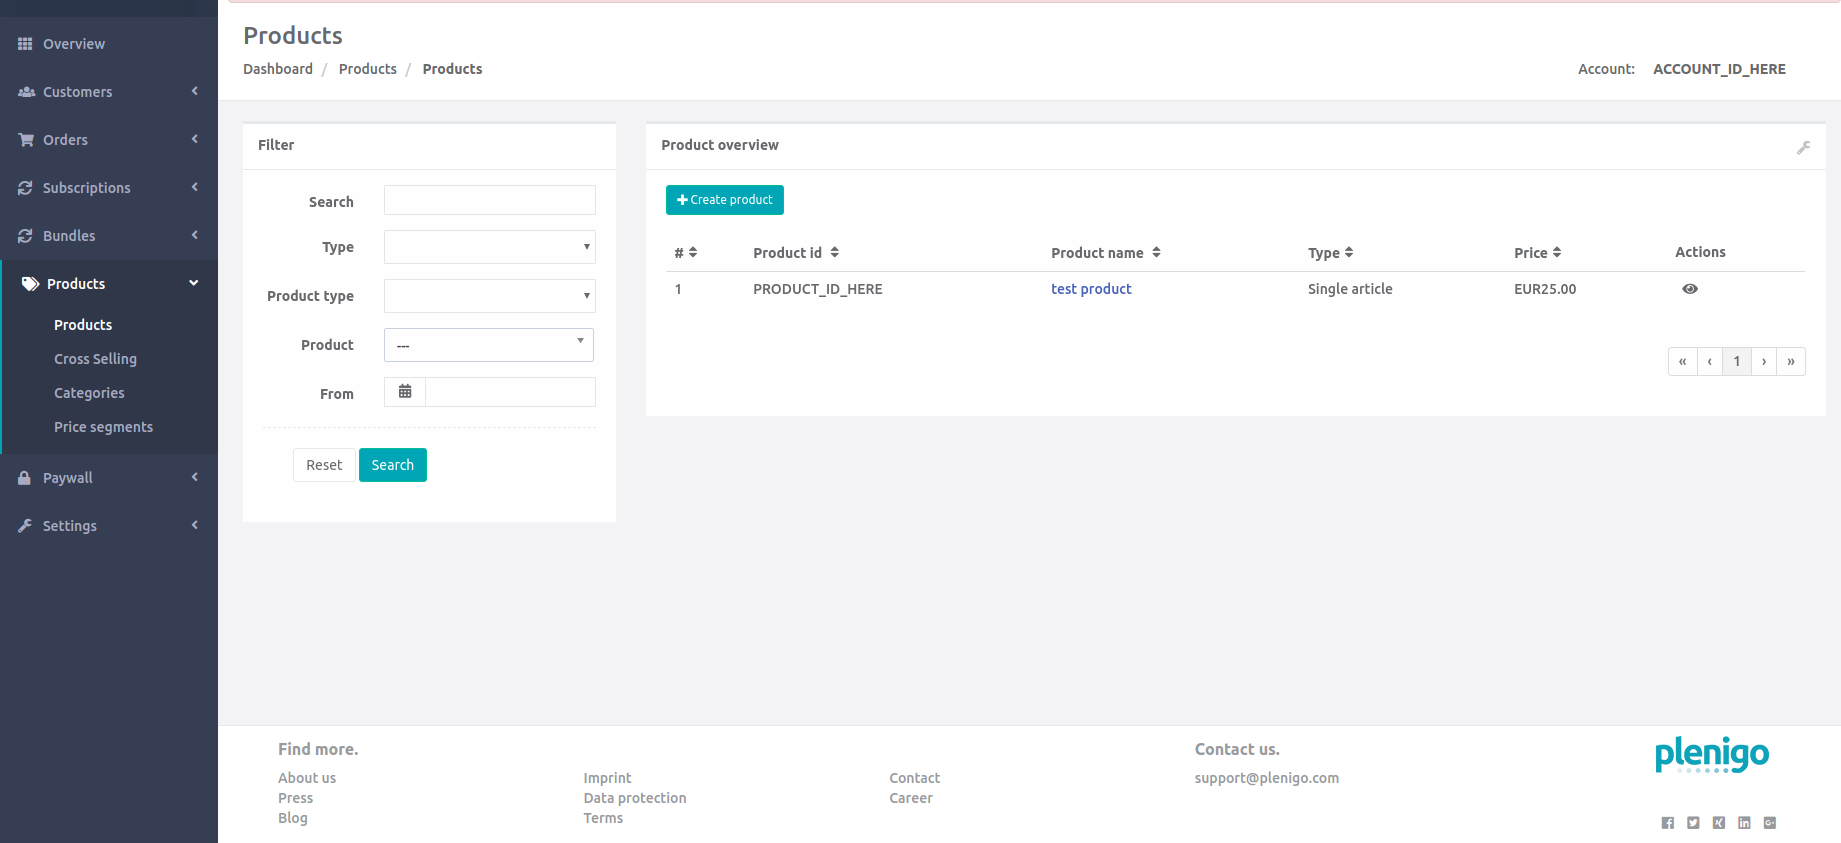
The first field should contain “premium{premium}” now. In the second field add the product ids of the Frisbii Media merchant backend product overview, below an image of where you can find product ids.
You can add more than one product id to one tag. To do so separate them with a comma.
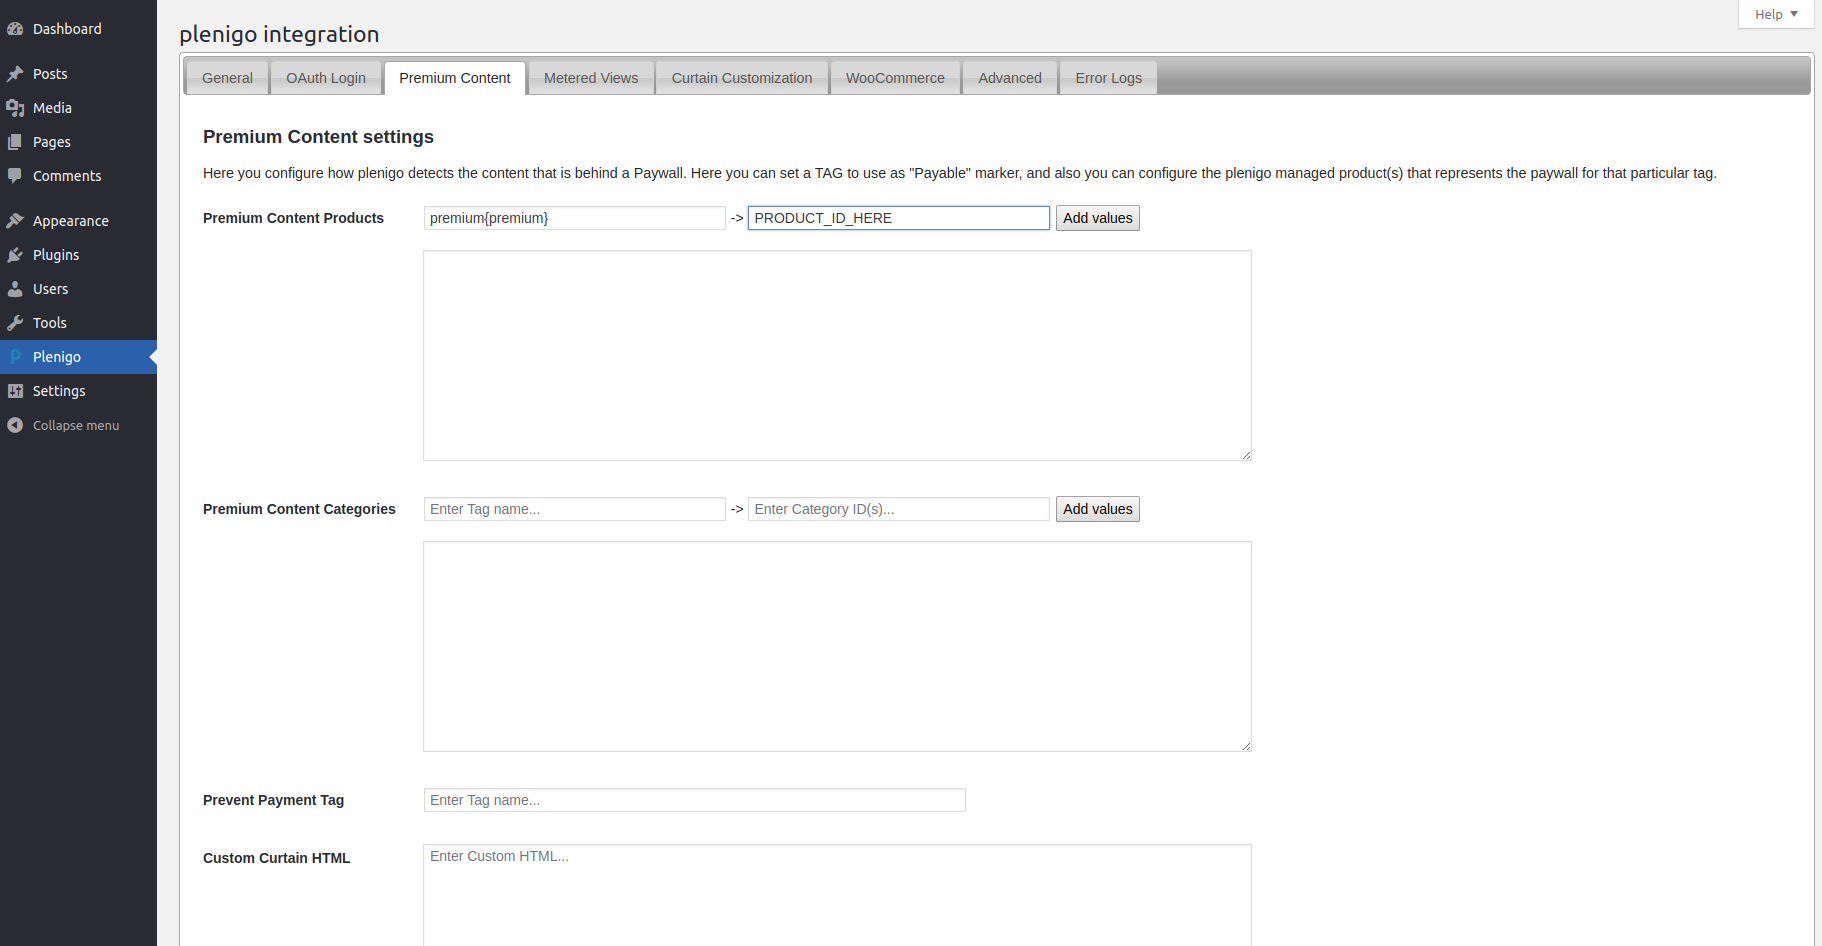
Click save and your paywall will be activated for every content the tag is assigned to.
For categories is the same procedure except that you would have to look for Category IDs in the Frisbii Media merchant backend.
If the paywall is deactivated in the Frisbii Media merchant backend you must activate it for this to work.
Below an example of how the curtain looks:

Prevent Payment Tag
This option is used to prevent paid content from being paywalled, this takes precedence over the premium content tags. This is a good way of offering paid content for free to customers while maintaining them in the paid group.
Custom Curtain HTML
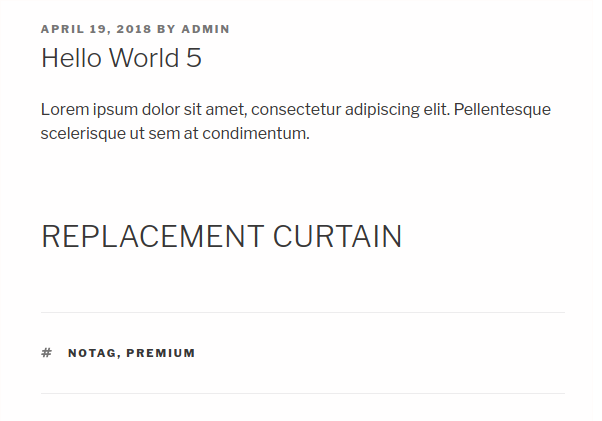
In case you want to provide a different styling from the HTML Curtain you can paste HTML here or text and it will replace the default one. In this example we insert a simple header in the Custom Curtain HTML.
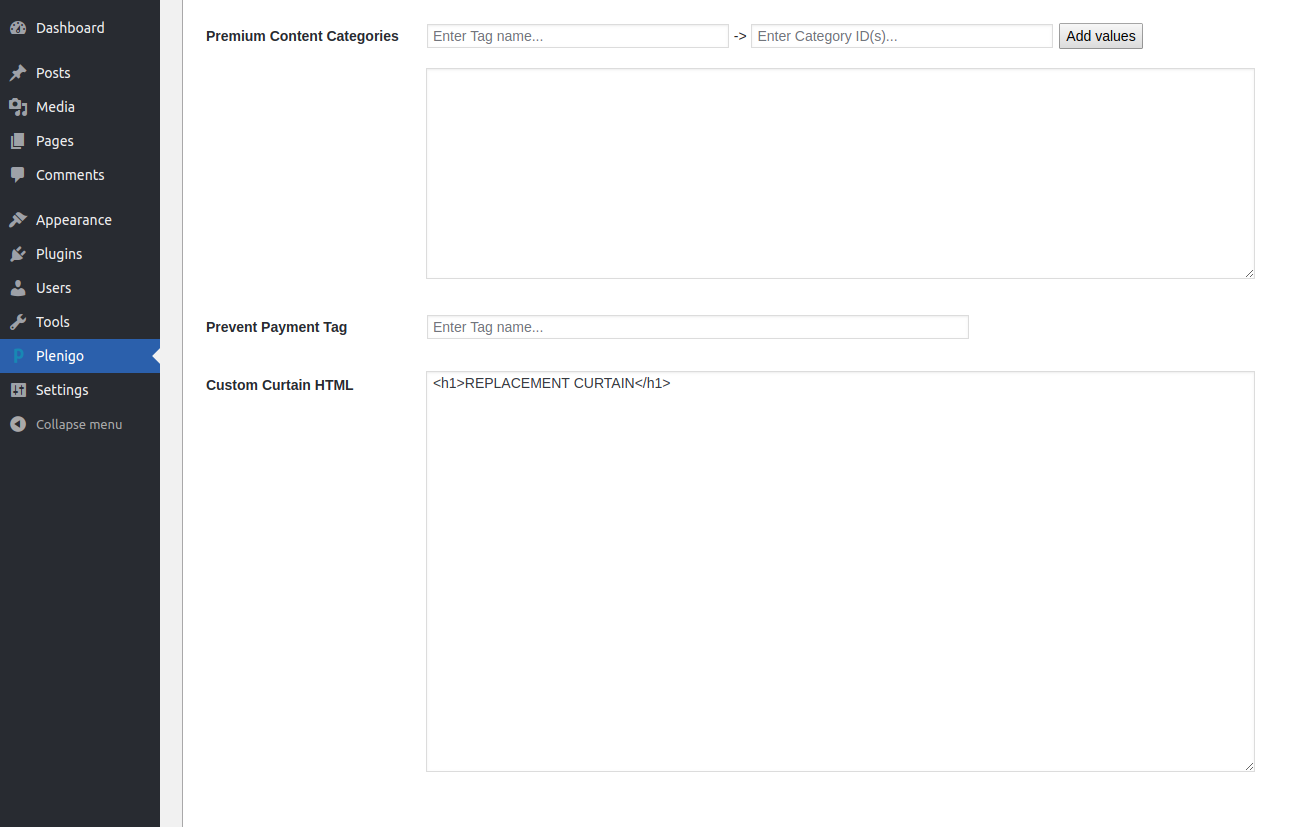
After saving this settings, you can go to a paywalled page and you should see the custom curtain:
A better solution to this is to replace the Single posts curtain since it has better teaser support and some variables that can be used.
Metered Views
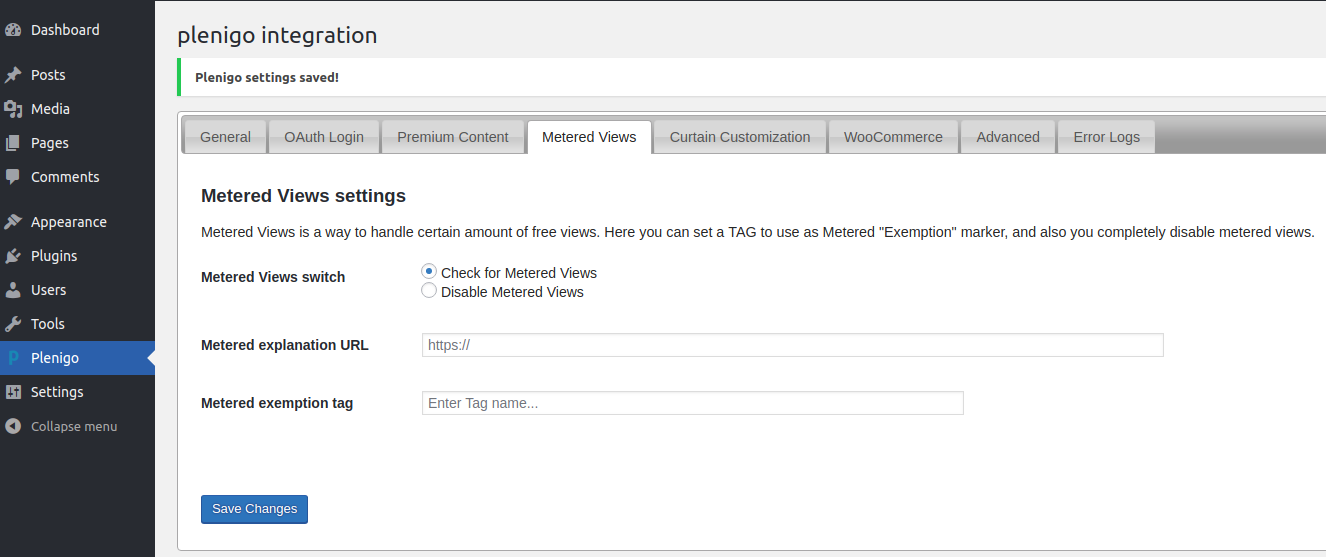
Metered Views settings are used to enable/disable metered settings, exempt sites from metering with tags, and provide an explanation URL in the WordPress site.
Basic Configuration
Metered views are controlled over the Frisbii Media merchant backend.
If metered is deactivated in the Frisbii Media merchant backend you must also deactivate it in the WordPress backend.
In order to configure your metered settings you must go to the Frisbii Media merchant backend.
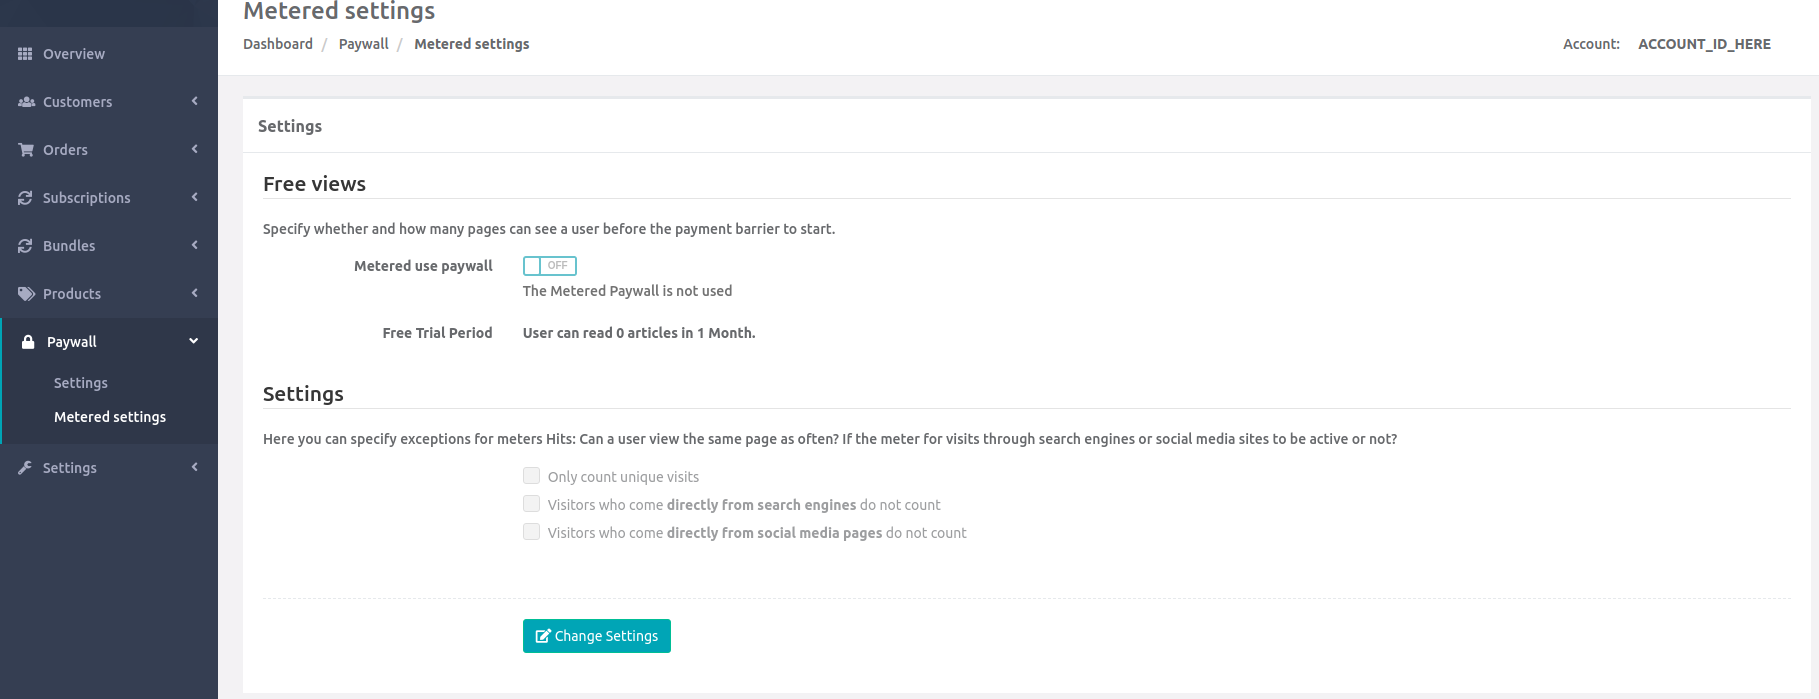
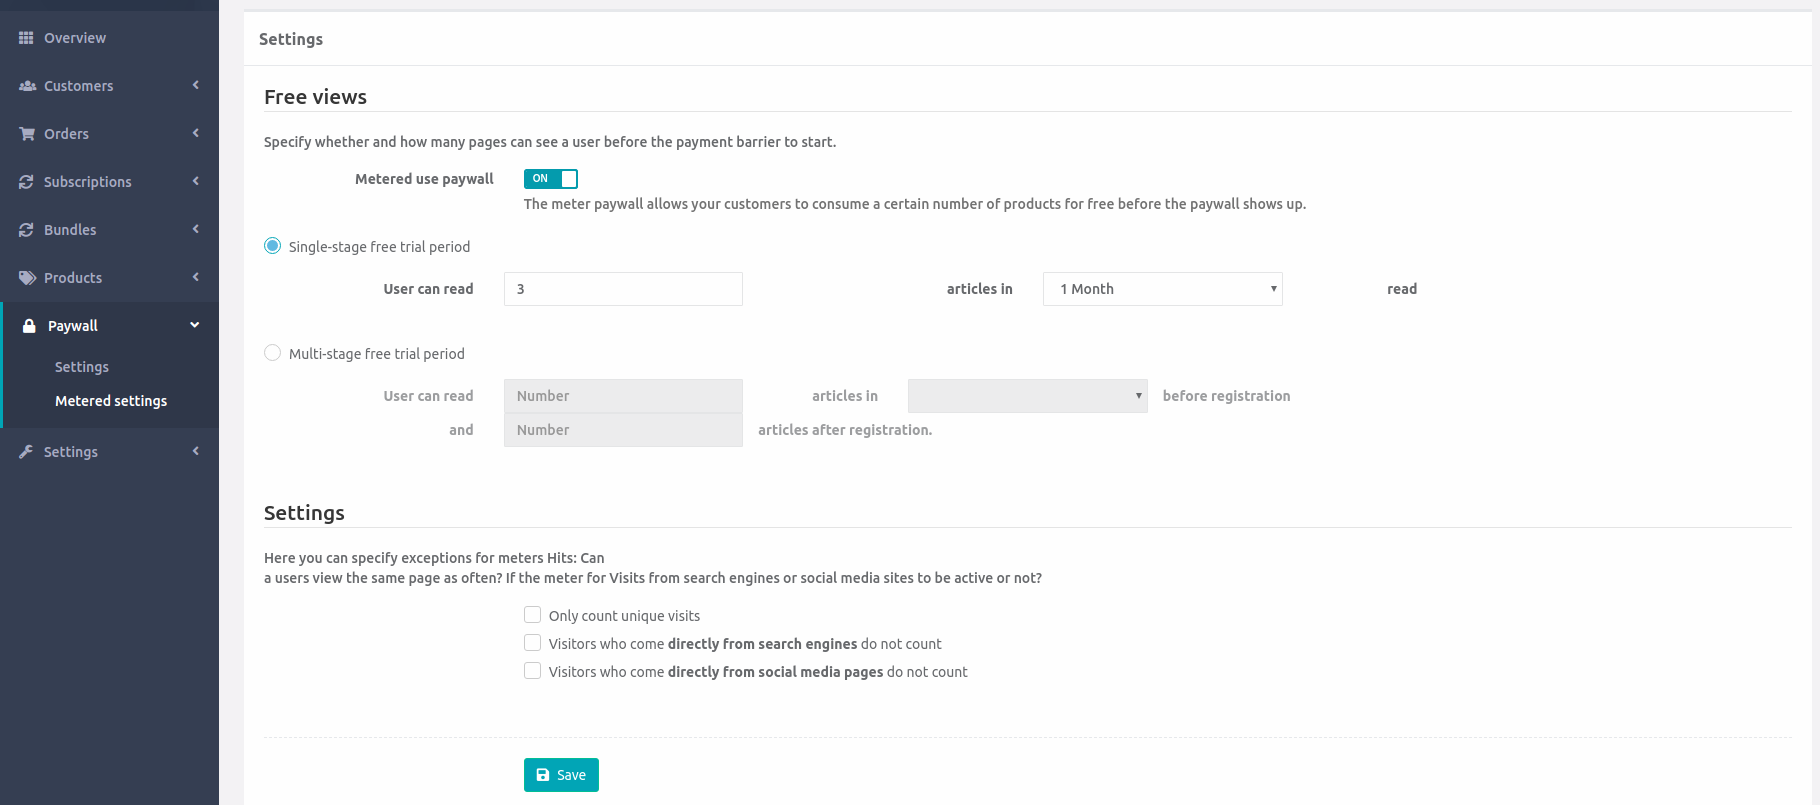
Enable metered settings with the trial period configuration of your choice. Below there is a configuration of enabled metering with 3 free articles per month for each user:
After this you can enable the metered settings in the plenigo plugin(Enabled by default).
In order to test it, go to a paywalled article and if you still have using free views you should see a counter in the bottom right part of the screen saying Still X free views.
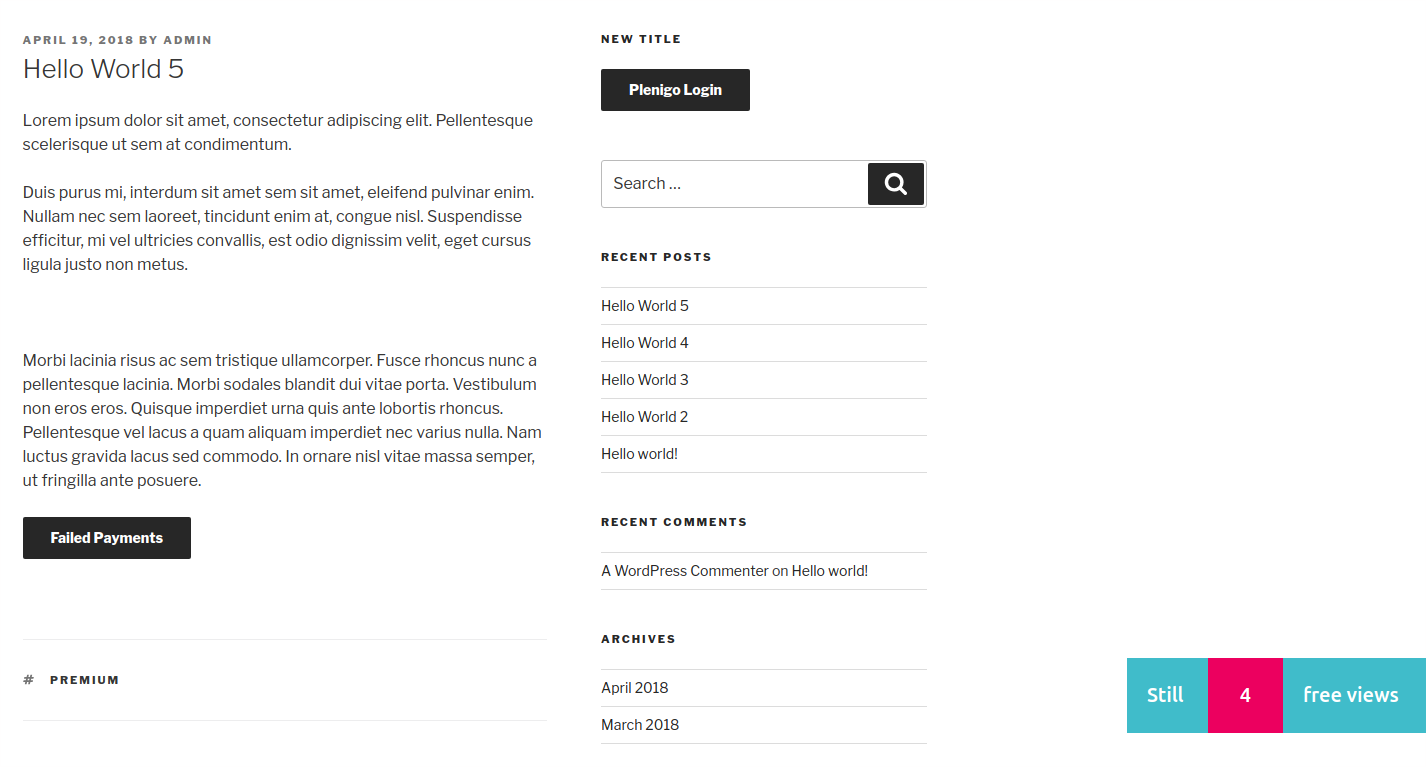
Some WordPress installations have other plugins with caching mechanism where the plugin does not get triggered and in this case the user will see Still 0 free views in his page until the cache of the web page expires, it’s always good to test this functionality with your WordPress site in order to be sure that it shows the curtain.
After you run out of metered views the post will be replaced by the curtain, in order to disable it on the WordPress side just select Disable Metered Views.
Other settings
The other settings are:
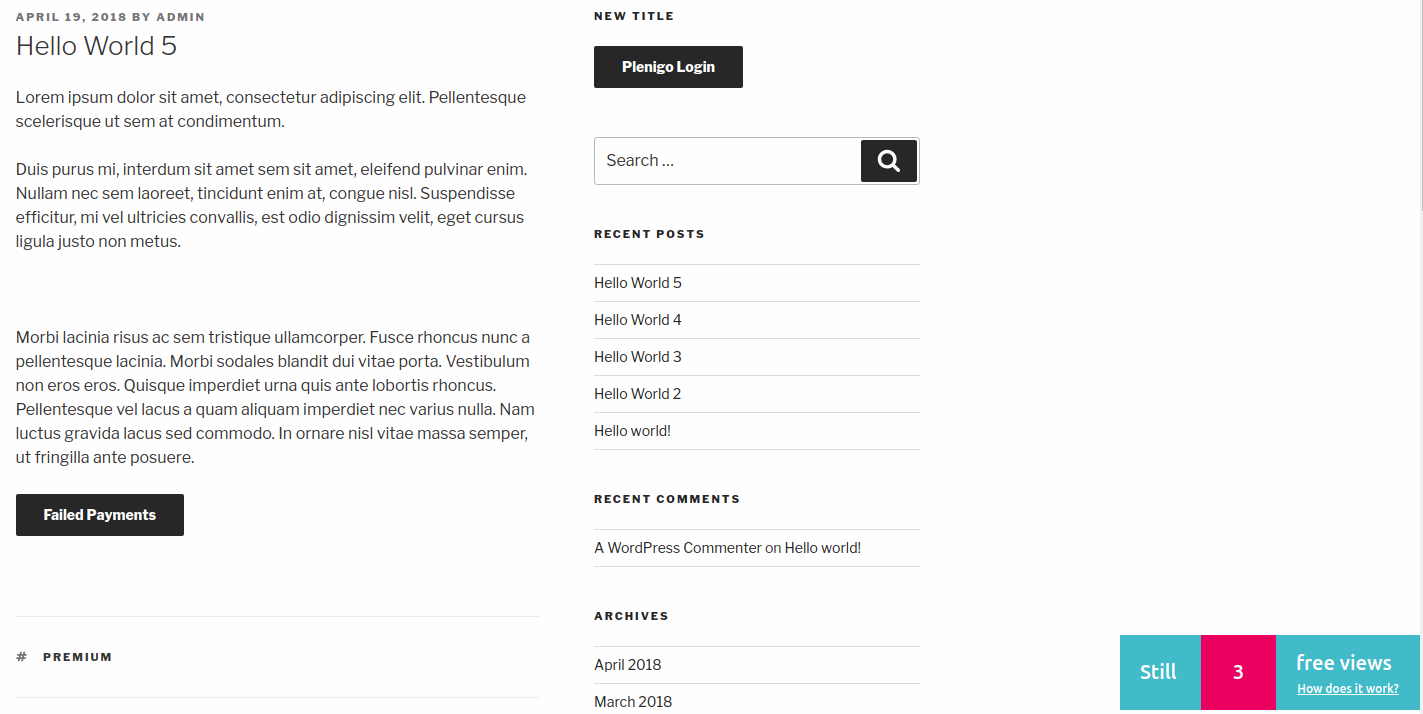
- Metered explanation URL: This setting can be used to explain the user why is the metering enabled and what happens when he runs out. Once you have set this URL, the counter area will have a link with the text How does it work? enabled.
- Metered exemption tag: This tag is used to remove an article from being metered, that way it does not count as a free article and it will show the curtain instead of the metering counter.
Curtain Customization
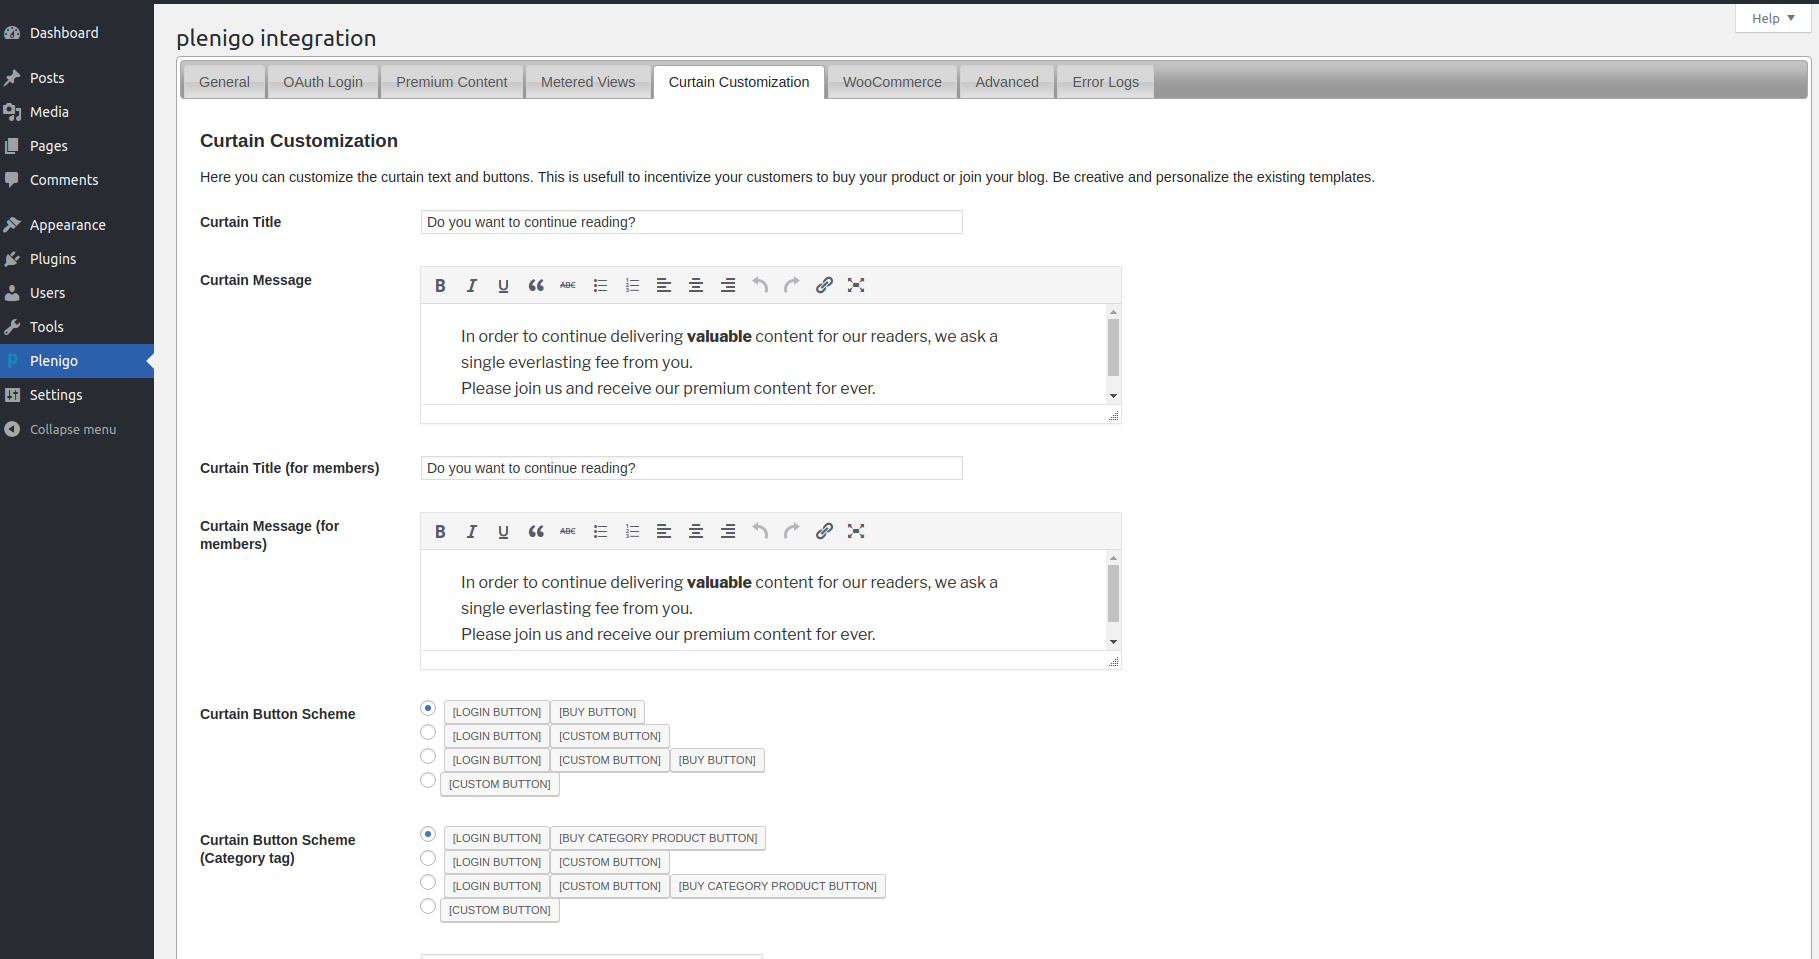
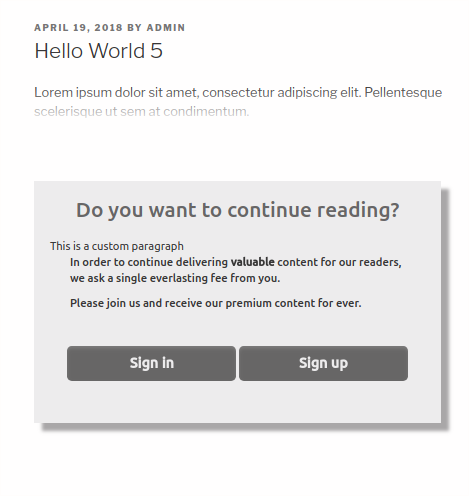
The curtain customization enables the modification of the curtain, this way the user can select which text (for members and anonymous users) and buttons to show.
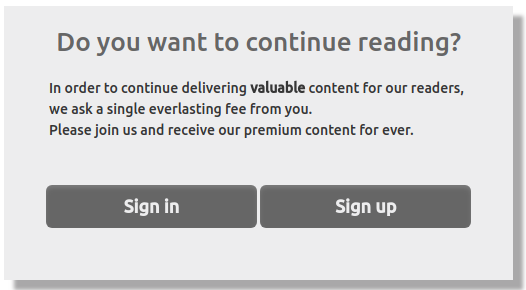
Below is the default curtain for reference:
Title and message
The title and the message can be configured for members(Frisbii Media registered users) and non-members, in the example below we modify the default settings for non-members and show the results:
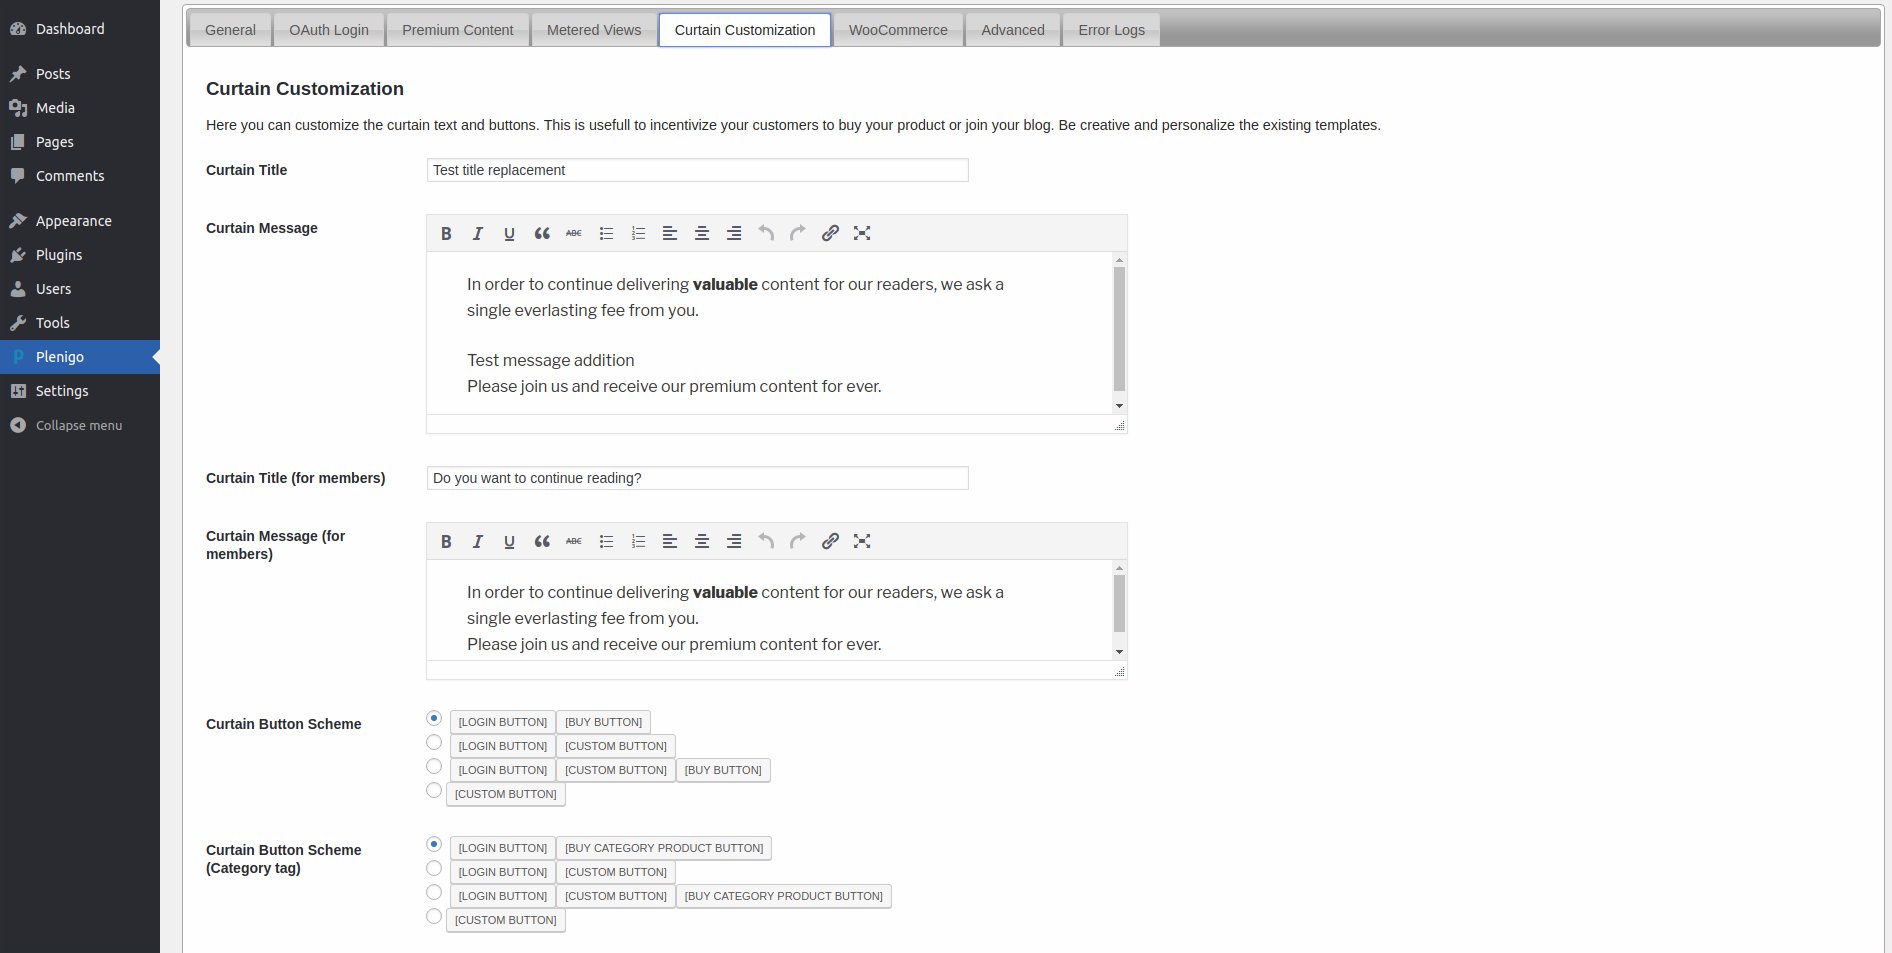
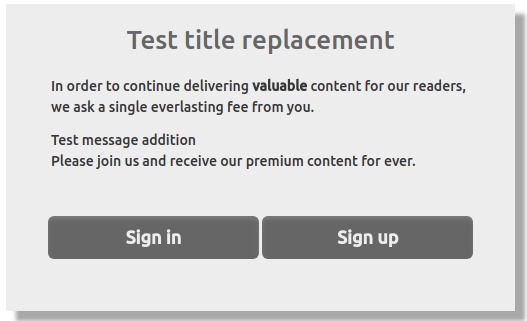
After editing the results will be the following:
Button schemes
The button schemes are for 2 cases:
- Product tag curtain: This is the first one(“Curtain Button Scheme”).
- Category tag curtain: This is for when there is a category tag in a product(For the buy button in this case the product id is taken from the post id and the product title comes from the post title).
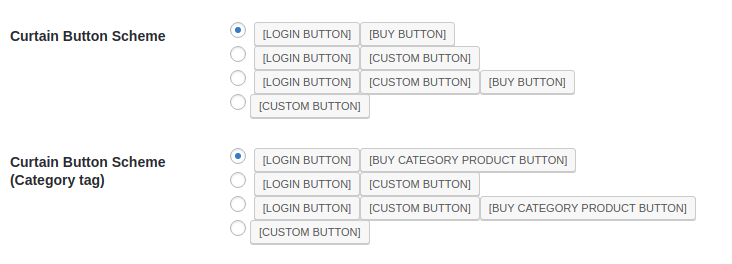
Each has a set of combinations that you can choose out of the following buttons:
- Login button: Used to login the user.
- Buy button: Contains the product checkout for the tagged product.
- Buy category product button: Builds a managed product from the post id and the title.
- Custom button: This can be used to redirect the user to offers or any other type of advertisement that you would like in the curtain.
Button texts
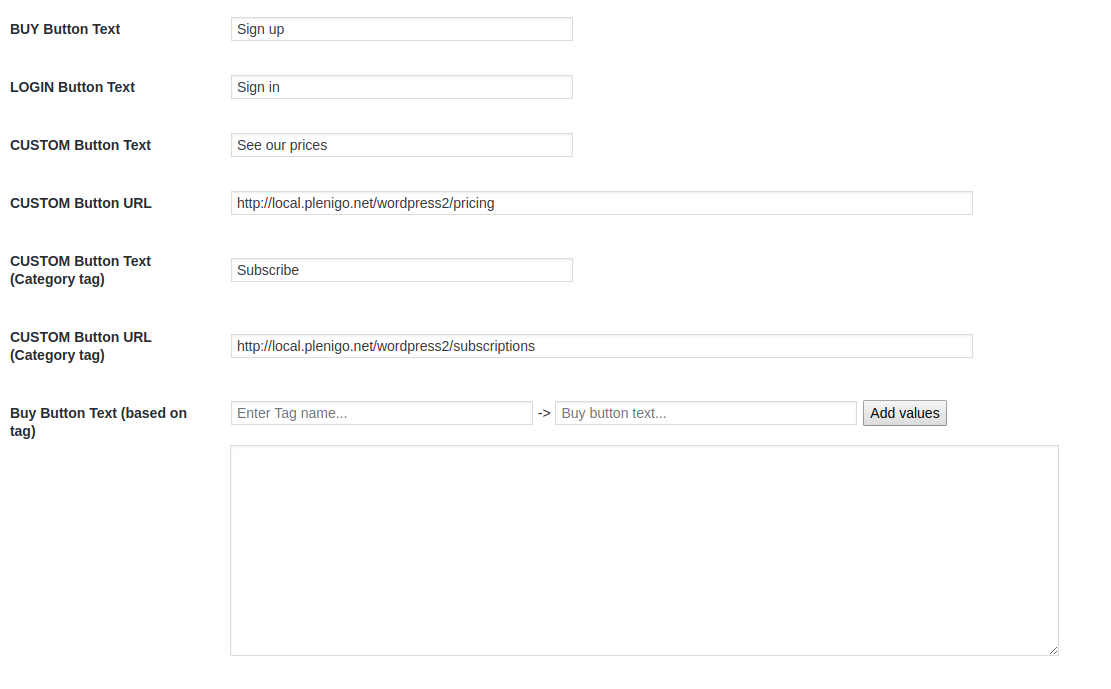
The button texts work in a similar way, they have default values, and you can replace them for the ones you prefer, same with the URLs, the only special case is the Buy button text based on tag where you relate the last product or category tag to a text that will be used in the buy button.
Show Register form

This field has 2 options:
-
Show register form to anonymous users when buying products: When doing this your checkout will start with a registration process, this is convenient for people that know that most of their buyers will have to register to Frisbii Media.
-
Do not show the registration form when buying products: When doing this your checkout will start with the login process, this is convenient for people that have migrated users to the Frisbii Media platform or that make users register to the platform by other means before accessing the paid content.
Advanced
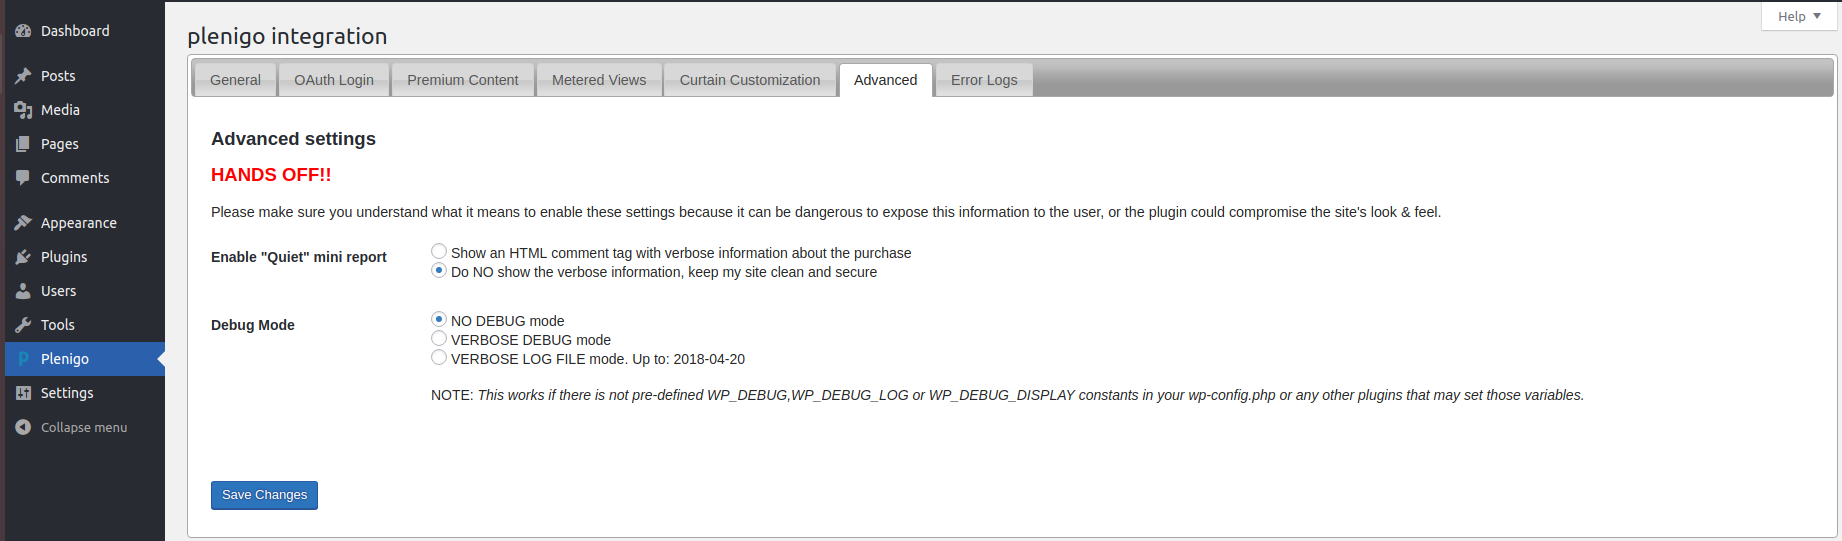
The advanced section is used in order to debug the WordPress plugin in case of unexpected errors, it is an attempt to find and fix mistakes for our customers with support without the need to have access to the database or WordPress server. We do not go much into detail with this since it is made to be used by Frisbii Media support.
Do not use these settings without communicating with us first since if misused it can disable your website.
Error Logs
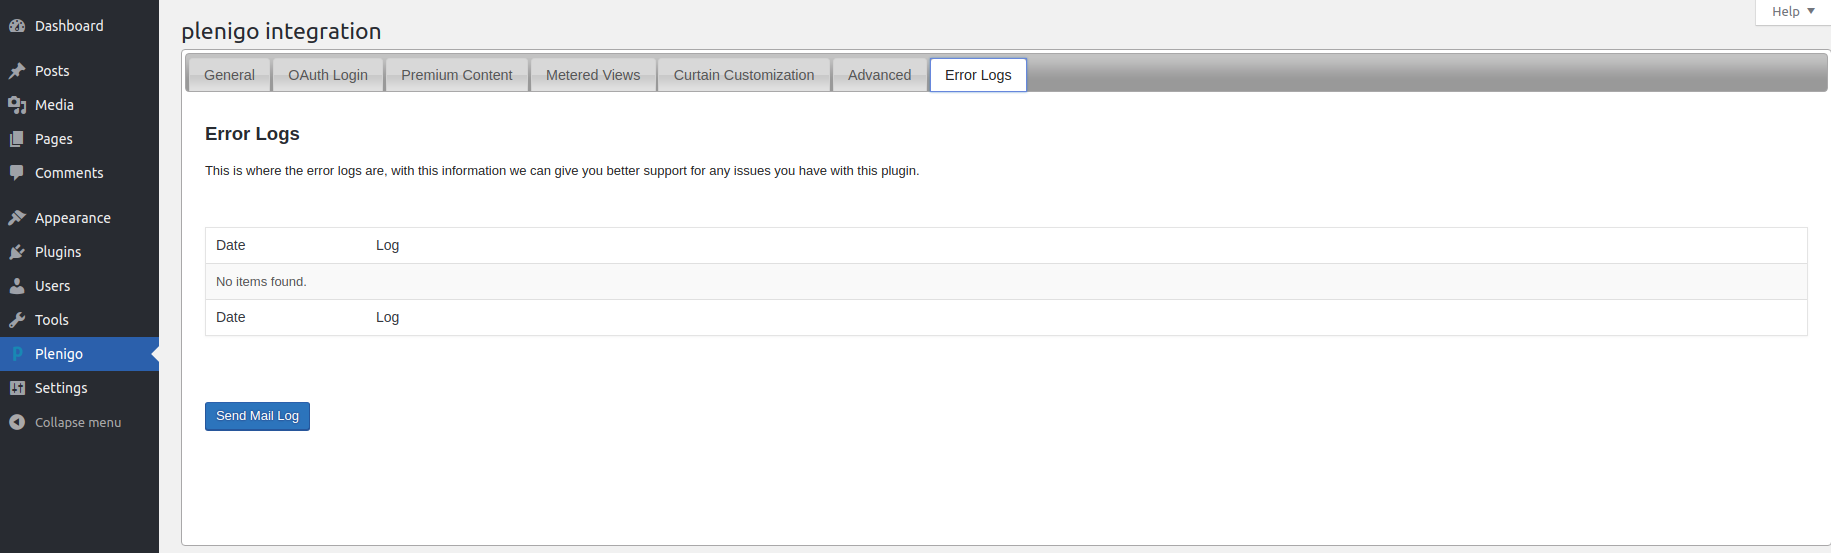
Here you can see the communication errors with the Frisbii Media API and send them for better understanding of the latest problems that you might report.
Send Mail Log
You can send a mail of the errors to Frisbii Media with the Send Mail Log button, only need to click it and it will be sent automatically if your WordPress instance has an email service enabled.
Post/Page editing features
The plugin also includes a set of editing features in order to give the user a possibility to add things like checkout buttons, snippets, failed payment buttons and select content to be used as a teaser.
Checkout button
The checkout button can be found when editing posts or pages, this generates a shortcode that will generate a button(and possibly a text area when dealing with quantity) that can start a checkout process of the configured product.
Basic configuration
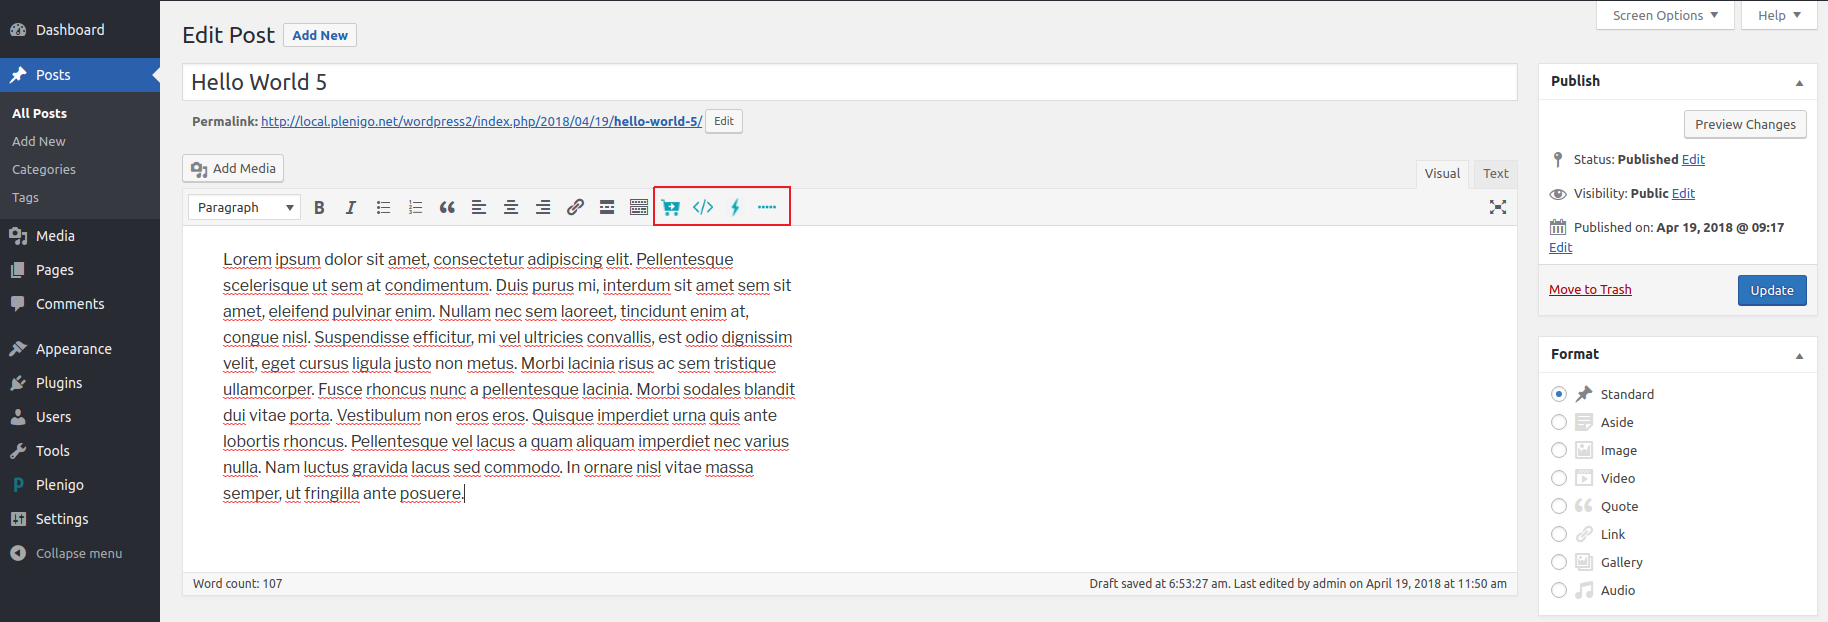
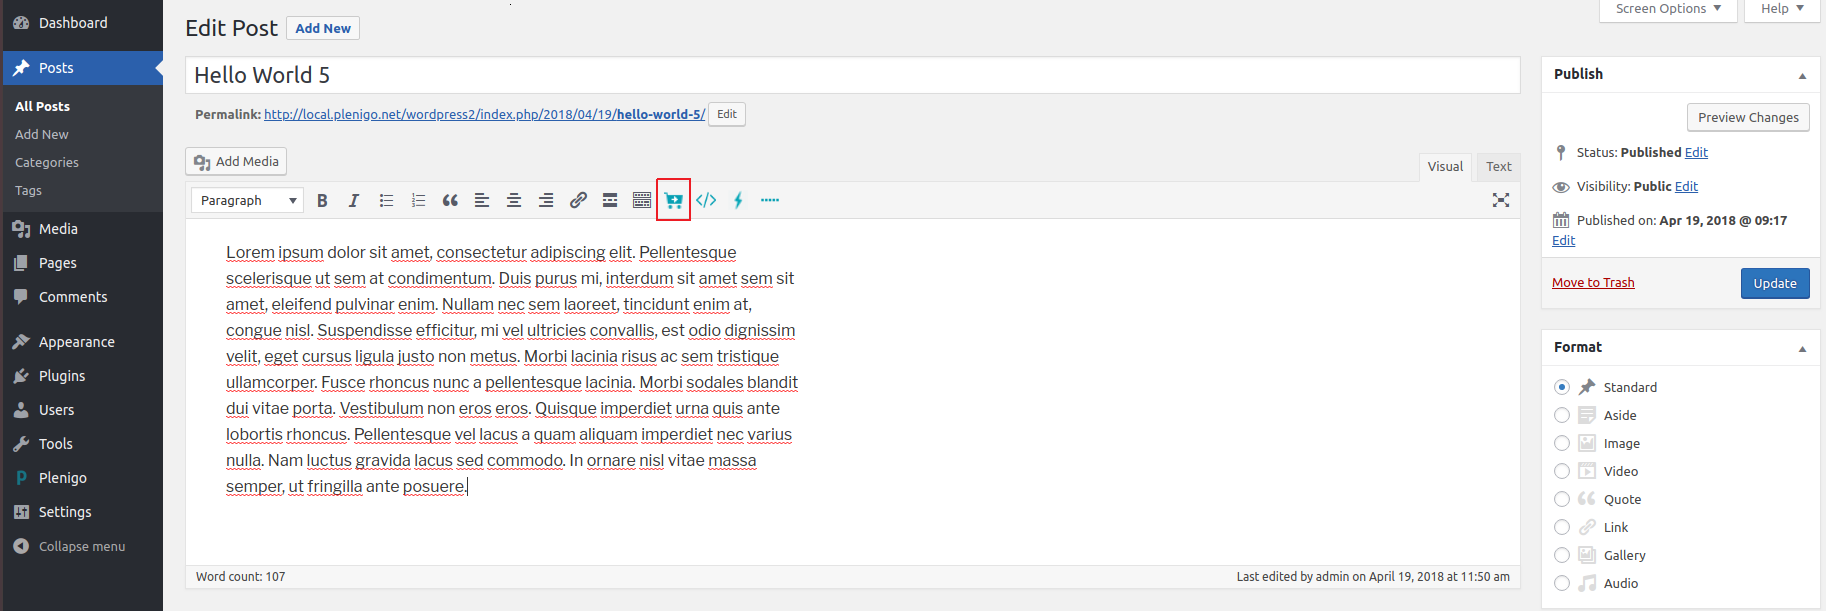
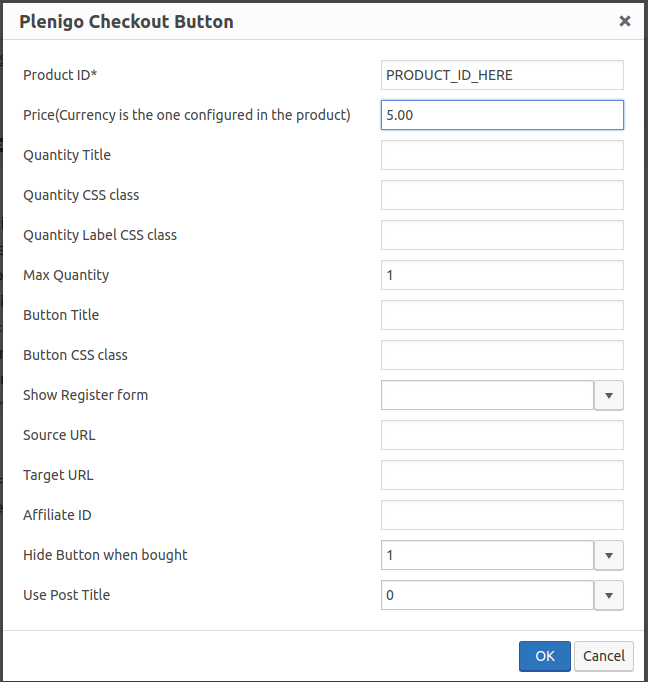
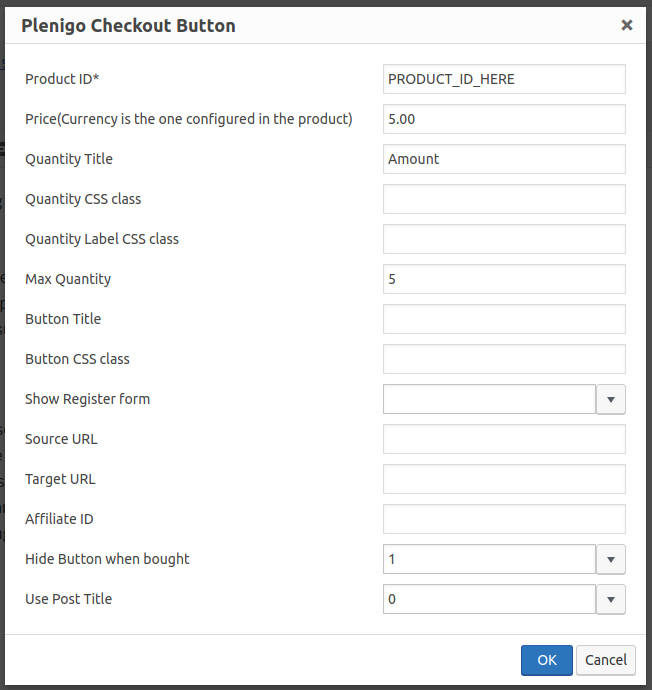
In order to use the checkout button functionality you must select the area where you want to put the checkout button inside your page/post and click on the checkout button, this will open a dialog where you can configure things, like the image below:
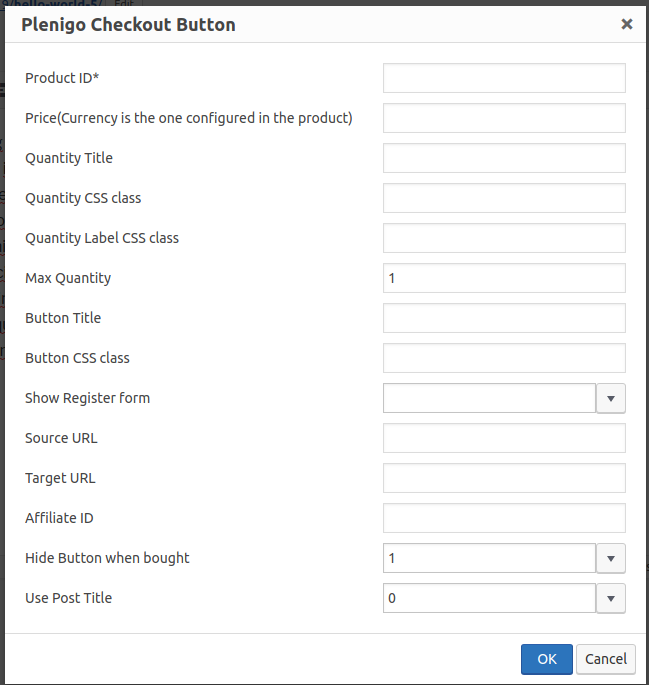
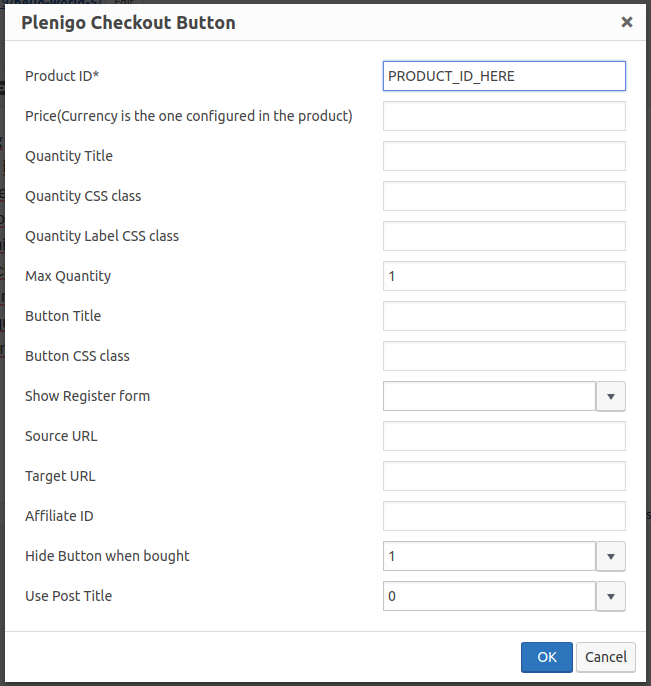
The only required field is the Product ID, you can find the correct product ID by going to the Frisbii Media merchant backend in the Products > Products sub-menu. After getting the correct product ID, fill it in the dialog and press OK.
Once you click OK a shortcode will be generated in your editor:
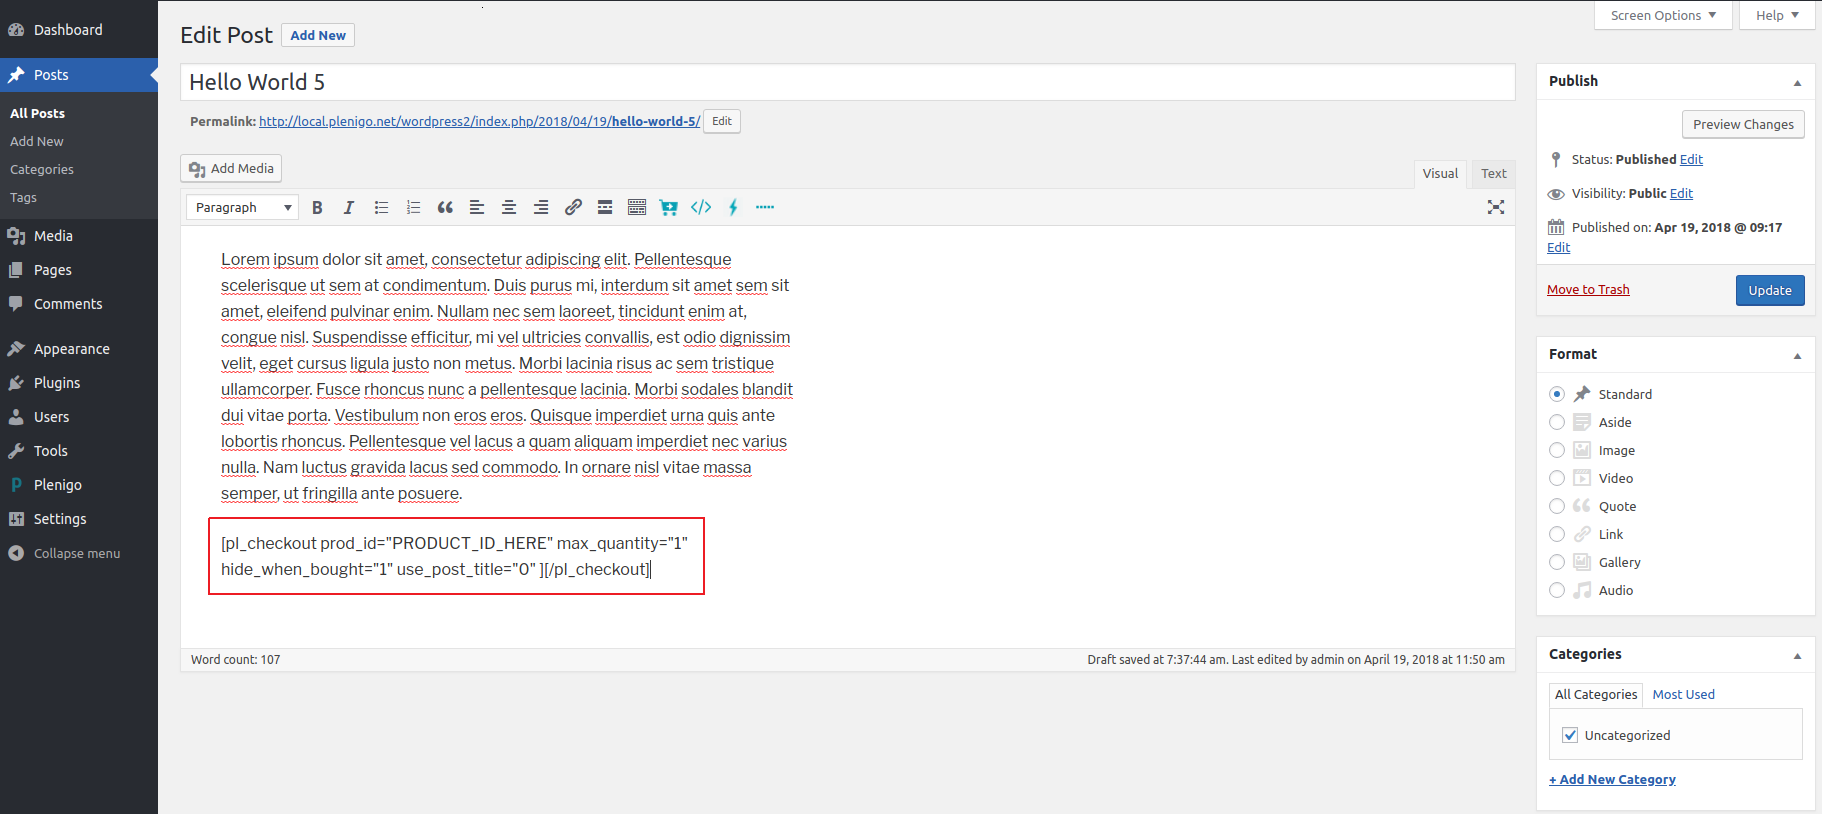
You can move it around the page in case you need to modify it’s location, you can also modify it’s attributes in case you want a different product id or change it’s configuration, but for complex changes it is recommended to use the checkout button so that it can go through the basic validation.
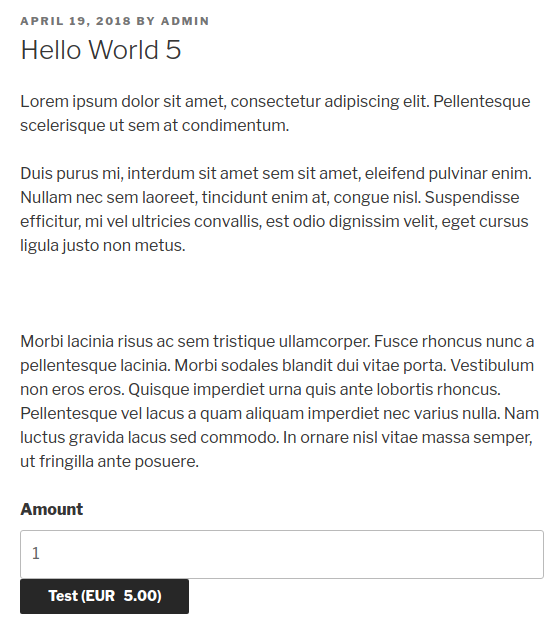
After you have updated the post or page you can check the default look of the generated button:
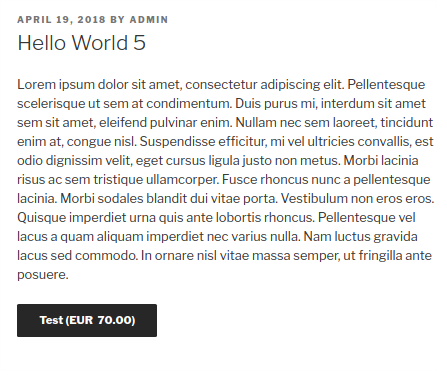
By default the text displayed is in the format of Title(Currency Price).
Custom price
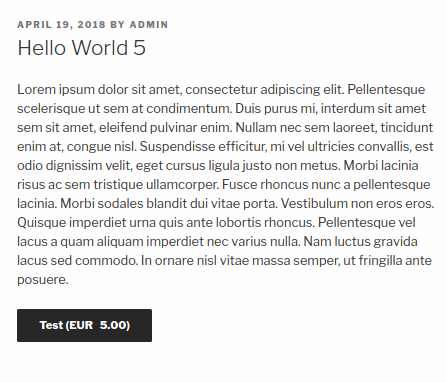
If you require to override a product price, you can replace it with the Price field, this will override the default price for this checkout.
After you have set the price with the generated shortcode you should get a button similar to the one below:
Quantity
Quantity only works for single products, for subscriptions it will override the price by the end of the checkout.
If you would like to sell more than 1 product in a given checkout, we can provide you a way to do this with the Max Quantity field, in order to enable it you must choose a quantity higher than 1, in this example we choose 5.
This feature also works in combination with the custom price, if you override the price, the quantity will also work correctly with this.
Every time the user changes the quantity of the checkout button, it is re-generated and assigned to the checkout button, so the button might disabled for a few seconds, also this functionality only supports one checkout button, not multiple in the same post.
In this example we select the custom price and the quantity in order to demonstrate the quantity functionality with a predictable price.
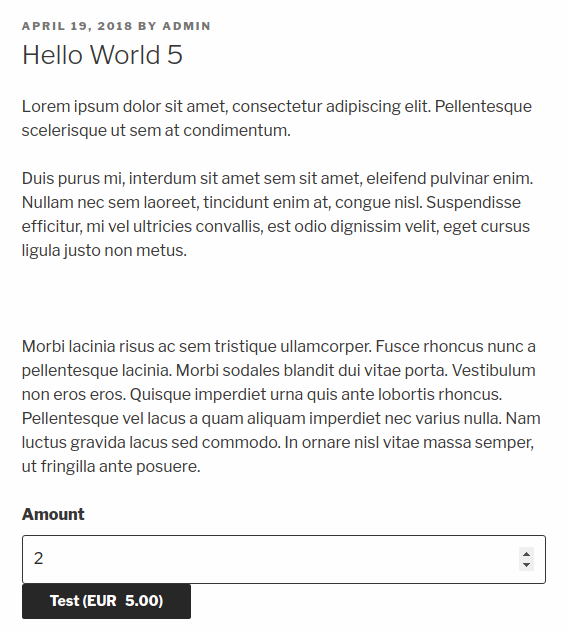
After i have generated the shortcode with the previous settings the checkout button should have an additional text field where i can input a number:
This is the default behavior of the quantity feature, you can change the default label name(Stückzahl) by the one that you would prefer in the Quantity Title field, in case you want to change the styling of the label, you can assign a css class in the Quantity Label CSS class field, or if you want to change the styling of the textbox you can assign a css class in the Quantity CSS class field.
To show the flow of the quantity we will be showing a sample checkout and show the relevant part, which would be the title and price.
- Change the quantity of products to buy to 2 like the image below:
- Start the checkout by clicking the checkout button, login or register and you should see in the product details a checkout screen similar to the one below:
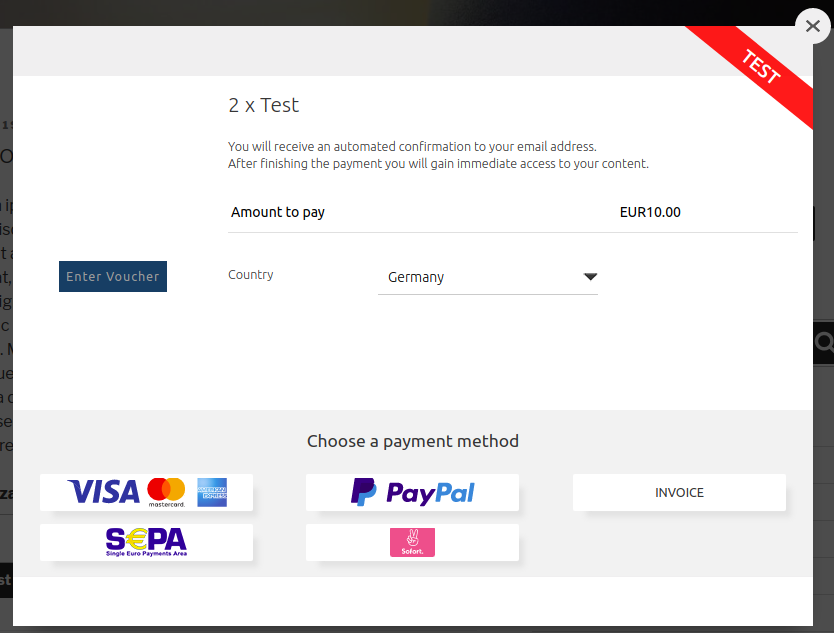
The product title is in the format “Quantity x Product Title”, the product title by default will be the one you configured in the Frisbii Media merchant backend.
As you can see, the total amount of the checkout is reflected in the “Amount to pay” field with the custom price we set.
Button style

- If you want to change the checkout button title you can change it by setting the custom title to the Button Title field.
- If you want to change the style of the button you can add CSS classes to it in the Button CSS class field.
The button title scope is just for information purposes before the checkout, the product title is still used when the checkout is started.
Source URL
This is used to save the url in the order for customer review purposes.
Target URL
This is an URL where the user gets sent to after a successful checkout.
Affiliate ID
You can set an Affiliate ID for your Affiliate Marketing campaign.
Affiliate systems are based on the principle of commission. The mediation takes place in the virtual world of the World Wide Web through a link. Such an affiliate link contains a special code that uniquely identifies the affiliate at the merchant. Simplified this means: By the link with partner identification the dealer recognizes by whom the customer was sent.
If someone clicks on such an affiliate link, he is redirected to the page of the corresponding merchant. Parameters are transferred here that enable the concrete allocation of the generated turnover by a publisher.
This field is used to pass these parameters to the Frisbii Media system and link them to an order to be analyzed later.
You have to purchase the Frisbii Media marketing suite to enable this functionality in Frisbii Media.
Hide Button when bought
Do not render the button when you have bought it, this is useful in case you want products that can be sold more than once and want to keep the button enabled even after the sale has been done.
By default you can buy a single product more than once, so you can change this configuration in case you are interested in multiple buys of the same product.
Use Post Title
If you want to override the product title with the post title you can set this option.
The post title will override the product title, so even after the checkout begins this title will be used.
Snippets

The snippets button enables you to display information from Frisbii Media to the user such as personal data, orders, subscriptions, address information, password change, among others, we will give a brief description of what each snippet does.
Redirection
You can select if you want a custom redirection when the user is logged out. This is because the snippets will not render and in this case the user will be redirected to the home page.
In order you want to change this behavior you must select which page to redirect the user to, to do this you must do the following:
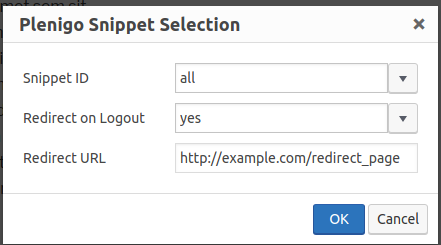
- Click on the plenigo snippet button and a dialog should appear with the following fields:
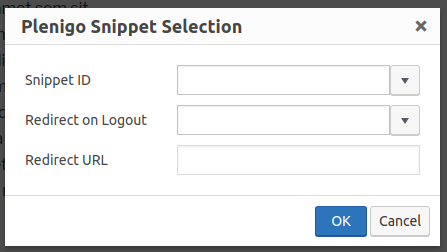
- Select that you want to Redirect on Logout and then use the Redirect URL that you would like to use.
This will generate a shortcode that will generate the snippet that you selected.

This shortcode can be moved to the area where you want the snippet to be generated.
All Snippets
This snippet id is a combination of the following snippets:
- Personal Data
- Orders Status
- Subscriptions
- Payment methods
- Address Information
It displays them in this order.
Personal Data
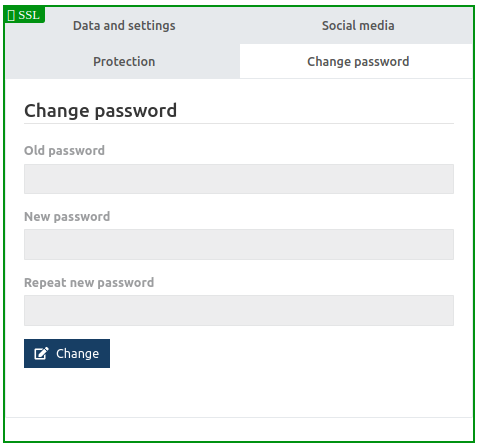
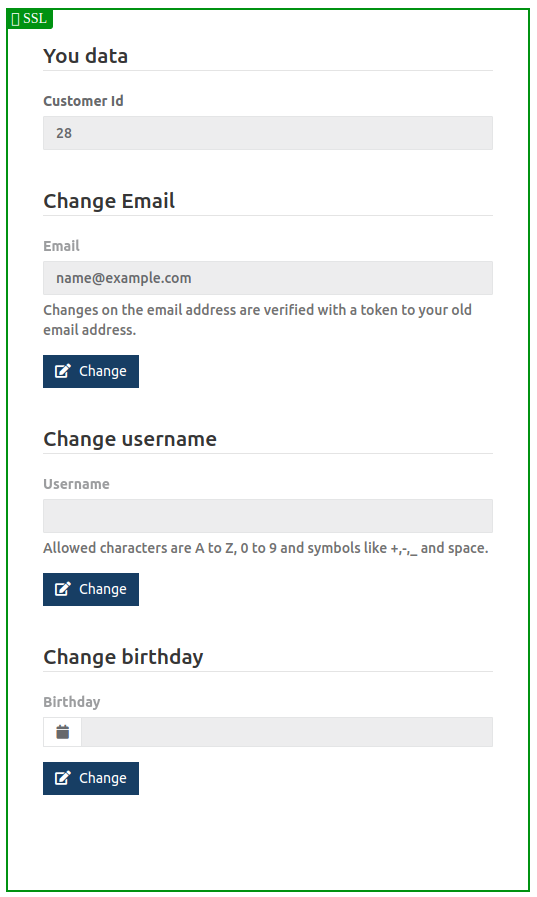
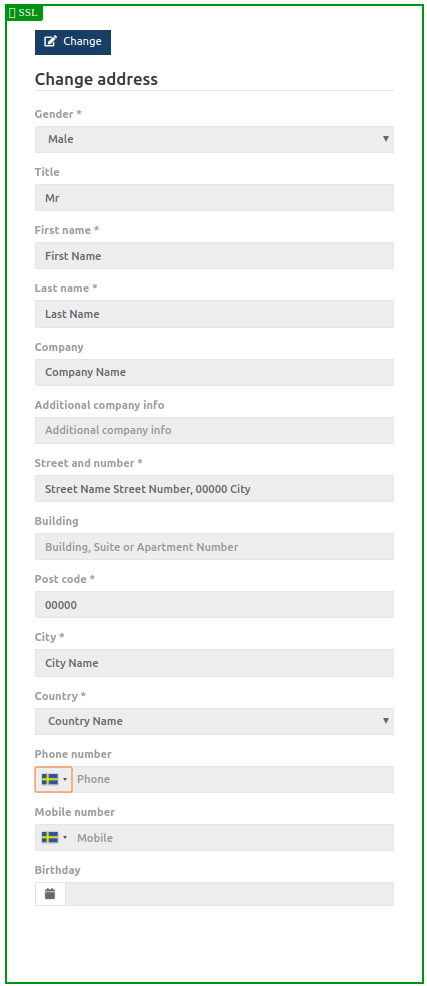
This contains a set of tabs where the user can change his personal information from your site. This can also be used as a replacement for the WordPress profile.
Personal Data is divided into 4 sections:
- Data and settings

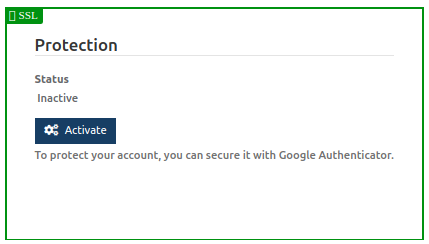
- Protection
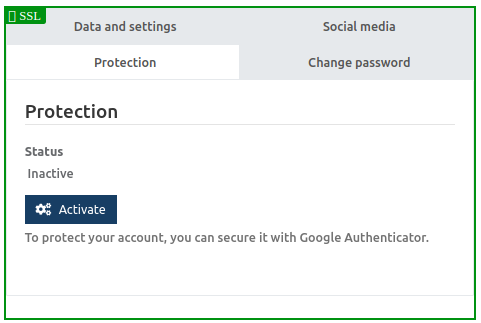
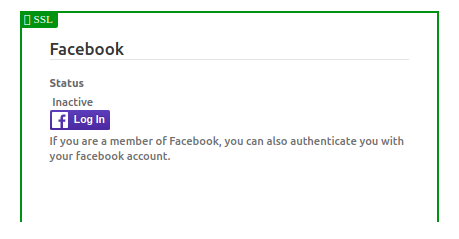
- Social Media
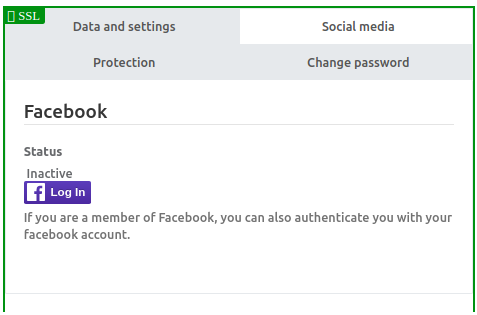
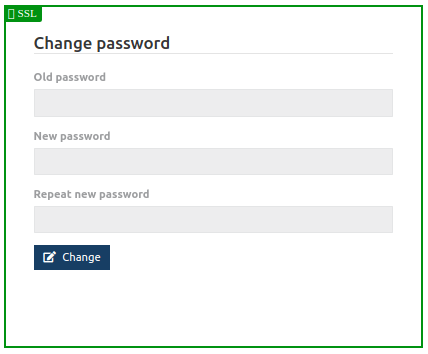
- Change Password
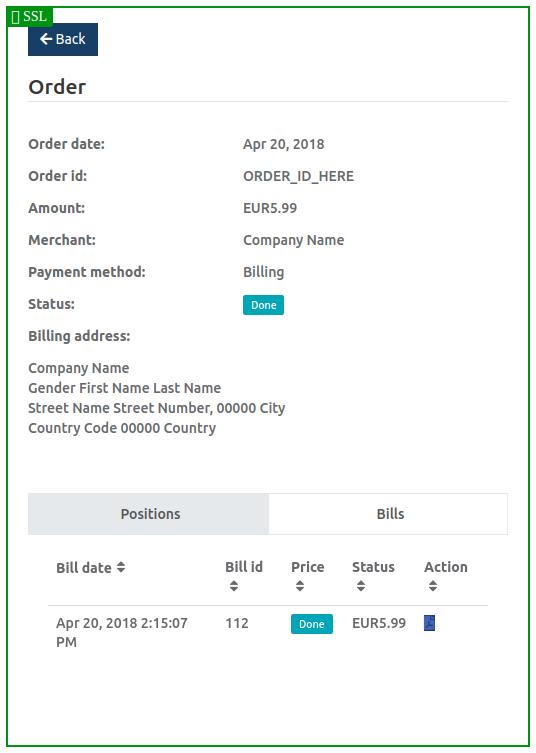
Order Status
Shows the list of orders, you can see each order detail and filter by date as well.
This is only for live orders, test orders will not show.
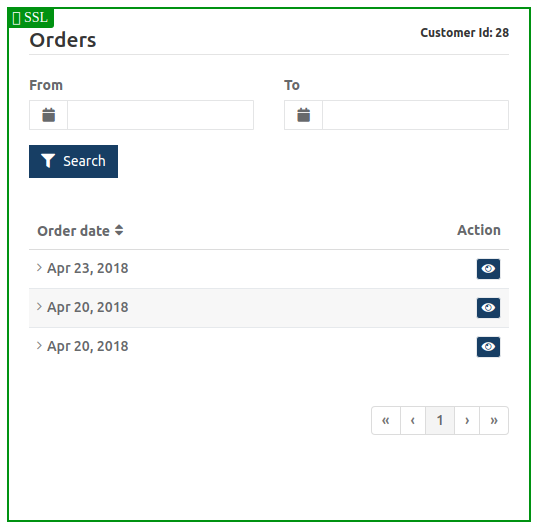
If you expand the row(click on the arrow button for this) you will see the following data:
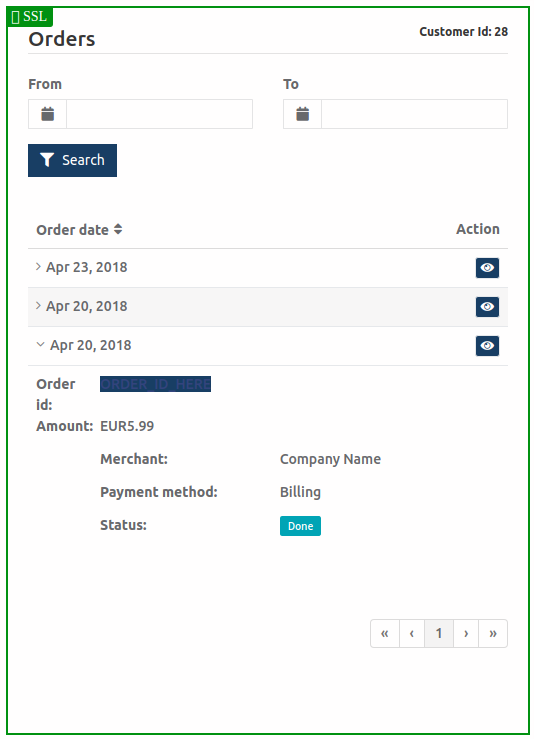
You can also click on the action button and get more details about the orders
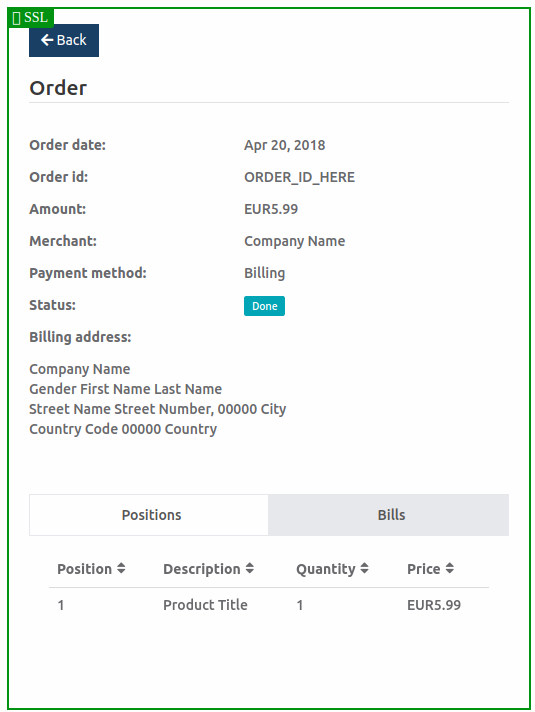
There is also a bill area where you can see the bill detail and download the PDF of the bill.
Subscriptions
Shows the list of subscriptions
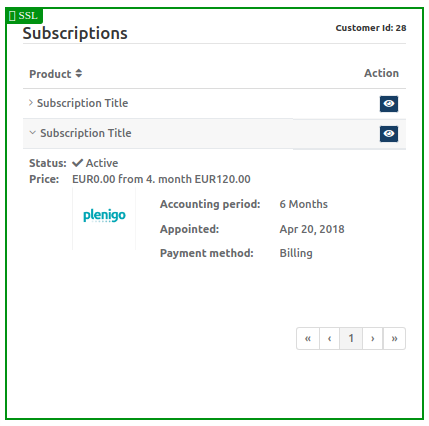
You can see each subscription detail, change payment and cancel subscriptions as well.

This is only for live subscriptions, test subscriptions will not show.
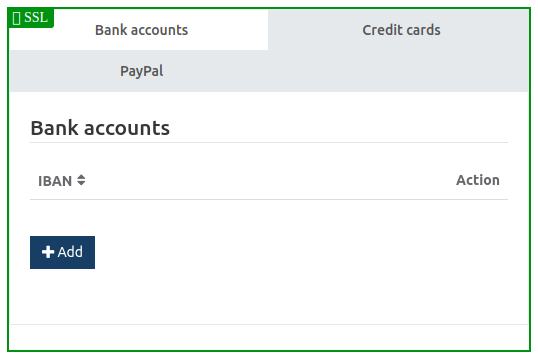
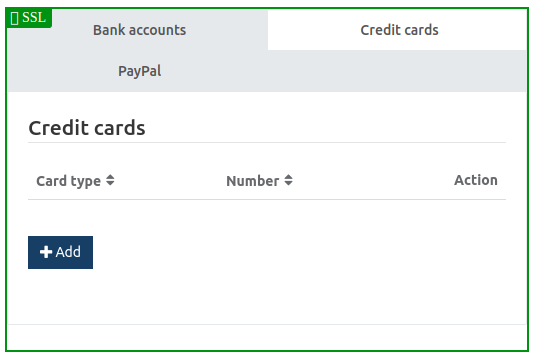
Payment Methods
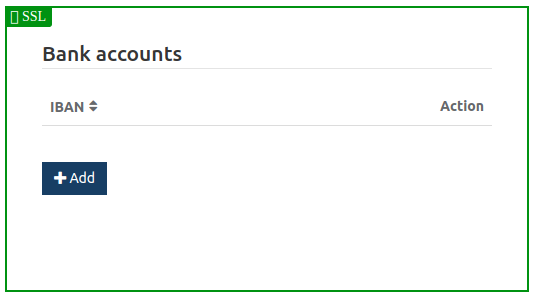
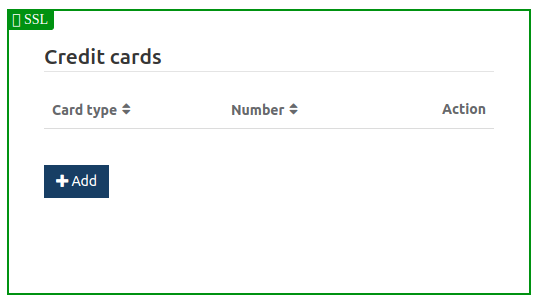
Here the customer can manage his payment methods of bank account, credit card and/or PayPal billing agreement.
Bank accounts:
Credit cards:
PayPal billing agreement:
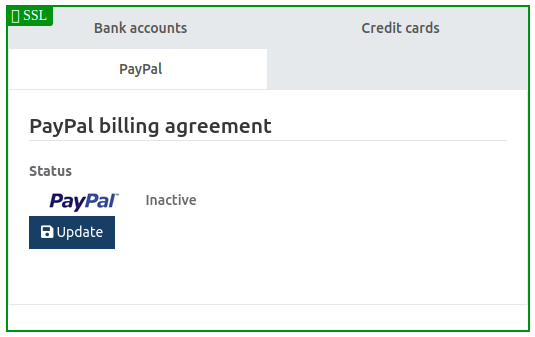
The merchant needs to have his PayPal account configured in order for the customers to be able to configure their PayPal agreement.
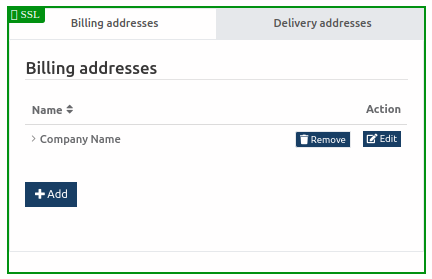
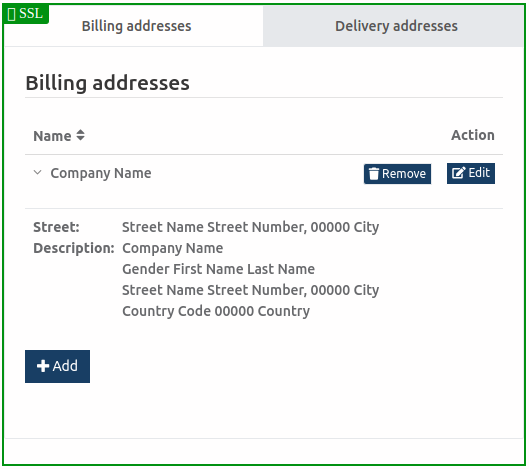
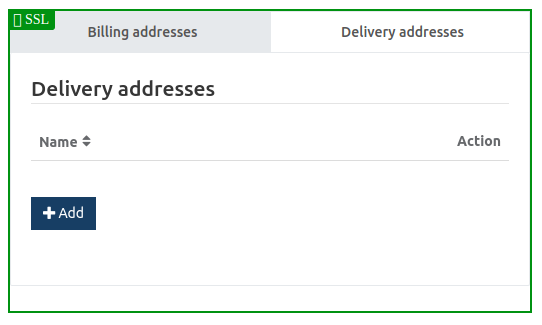
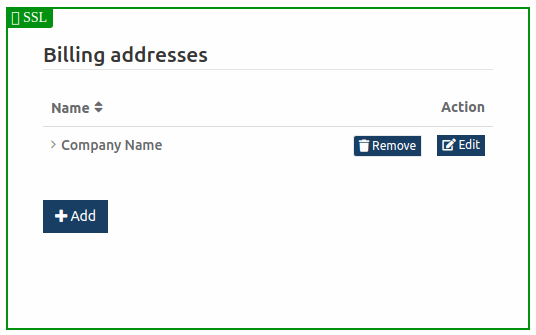
Address Information
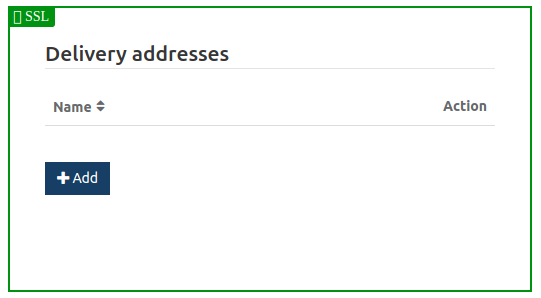
Here the customer can manage his billing and/or delivery addresses.
Billing Addresses:
Delivery Addresses:
Billing Address Only Information
This snippet is used if you only want the customer to manage his billing addresses through your site.
Delivery Address Only Information
This snippet is used if you only want the customer to manage his delivery addresses through your site.
Bank account Only Information
This snippet is used if you only want the customer to manage his bank accounts through your site.
Credit card Only Information
This snippet is used if you only want the customer to manage his credit cards through your site.
Personal Data Settings Only Information
This snippet is used if you only want the customer to manage his personal data settings through your site.
Personal Data Address Only Information
This snippet is used if you only want the customer to manage his personal data address through your site.
Personal Data Protection Only Information
This snippet is used if you only want the customer to manage his personal data protection through your site.
Personal Data Social Media Only Information
This snippet is used if you only want the customer to manage his personal data for social media through your site.
Personal Data Password Only Information
This snippet is used if you only want the customer to manage his personal data password through your site.
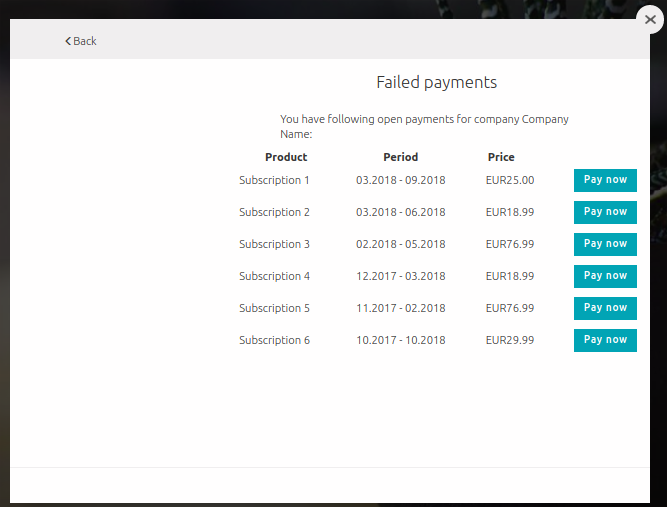
Failed Payments Button
This button is used so that the customer can login and see his failed payments through plenigo.
After the user clicks this button and logs in, he will be shown a list of failed payments like the image below:
plenigo teaser separator
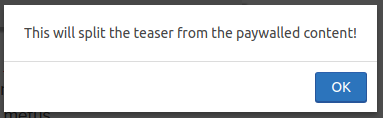
The teaser separator is used to indicate the plugin when should the curtain start showing, we will show the curtain before and after the teaser in order to show the functionality.
Before the teaser separator:
Next we will edit the post so that it has a teaser separator, this will help show the right amount of content that we want the customer to see before showing the curtain as you place the separator you will get this message:
In this example we will locate the separator after a small paragraph:
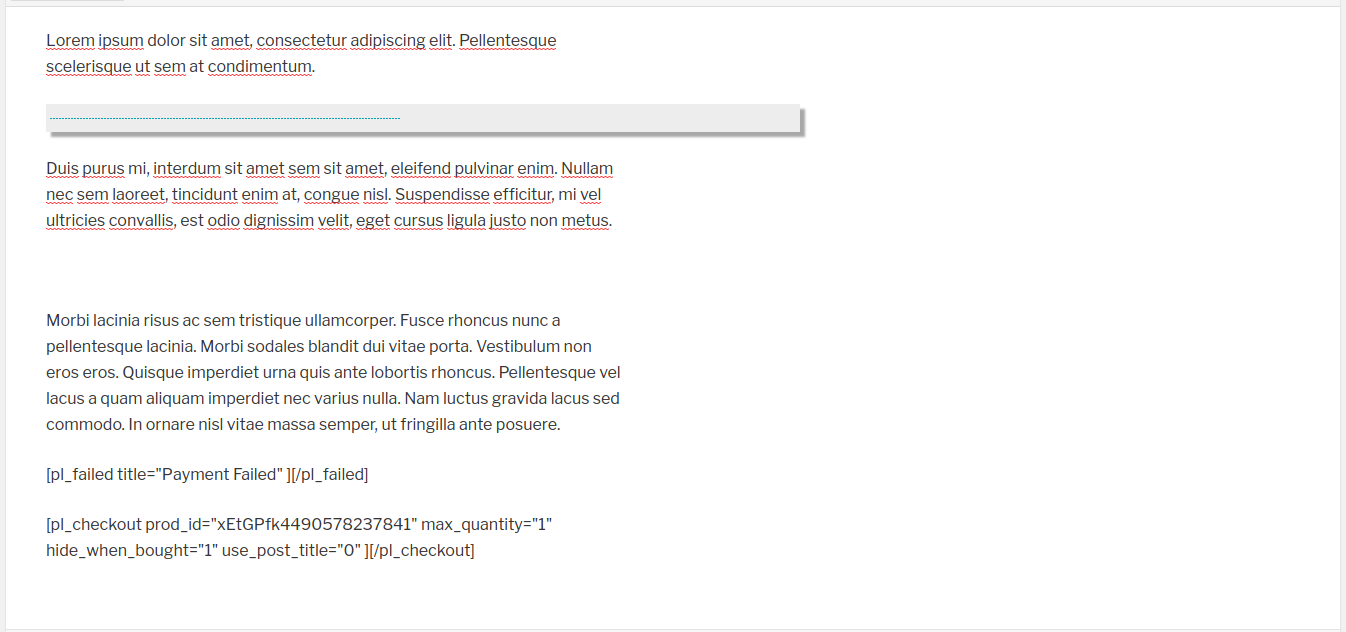
After updating the post, the curtain will show the text before the separator:
This also works with the WordPress read more tag.
Other shortcodes
pl_checkout_button
Synonym of pl_checkout shortcode, does the same things as the one generated by the Checkout Button.
Example of pl_checkout_button shortcode:
[pl_checkout_button prod_id="KtmVXsW1310276656841" hide_when_bought="1" use_post_title="0" ][/pl_checkout_button]
pl_renew
The pl_renew can be used with the prod_id parameter when you want the user to renew a subscription with specific forms of payments, this is used for SofortÜberweisung and some special PayPal cases, this can be used when the user decides or has to pay it manually, this will start a special checkout where he can pay it through your site.
Example of pl_renew shortcode:
[pl_renew prod_id="PROD_ID_HERE"]
pl_content_show and pl_content_hide
This can be used when you need to show/hide exclusive content that you will only be processed when the product is bought, it has the following parameters:
- class: This parameter can be used when you want to style the area shown with a <div> tag.
- prod_id: This parameter should be used and is for knowing which product you want to relate this content with.
Example of pl_content_show:
[pl_content_show prod_id="PROD_ID_HERE"]Some premium text here[/pl_content_show]
Example of pl_content_hide:
[pl_content_hide prod_id="PROD_ID_HERE"]Some premium text here[/pl_content_hide]
pl_user_profile
This is used to show profile information of the user, below an example of how the rendered snippets looks:
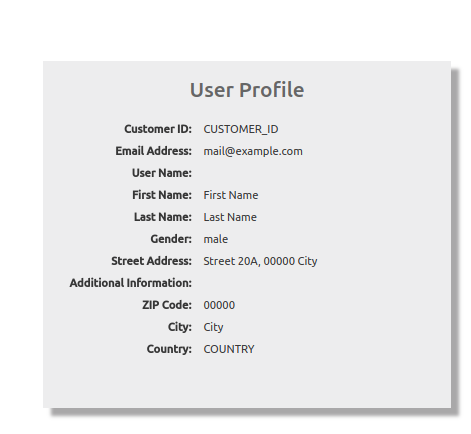
Example of pl_user_profile: [pl_user_profile]
pl_mobile_admin
This is used for third party access of your products, this way the user can check access to your products through Frisbii Media without having to use your companies credentials.
Example of pl_mobile_admin: [pl_mobile_admin]
This is an example of how the rendered snippet looks:
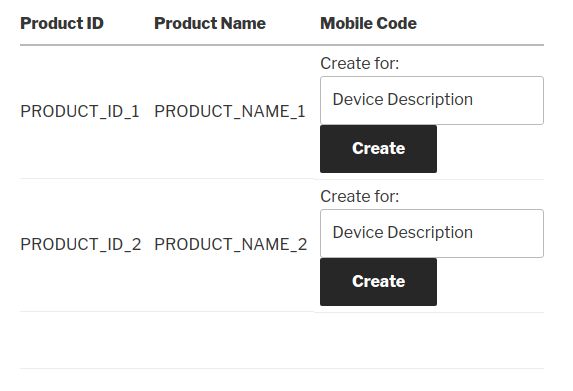
With it you can create and delete mobile codes with a description.
pl_login_link
This creates a link with the provided OAuth configuration, it has the following parameters:
- title: The link title
- css_class: The css class
- target: target url that the user should be redirected to in case of a successful login
Example of pl_login_link:
[pl_login_link title="Login Here" css_class="loginLink" target="http://example.com"]
Available translations
The WordPress plugin has German, English and Spanish translations.
Custom theme curtain
Since our default curtain does not match most styles and also is not 100% compatible with all the themes out there, we give you the possibility to override the default curtain with your own, that way it can match your style.
In this example we will show you how to replace the single curtain, which is the one used by the plugin, we will also use the default one as a starting point, the one we are interested in is the plenigo-curtain-single.html, you can find all the templates in our public repository.
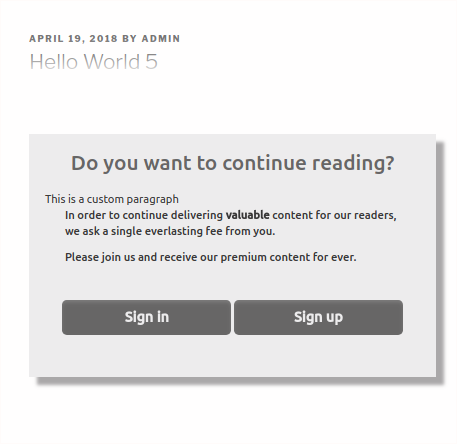
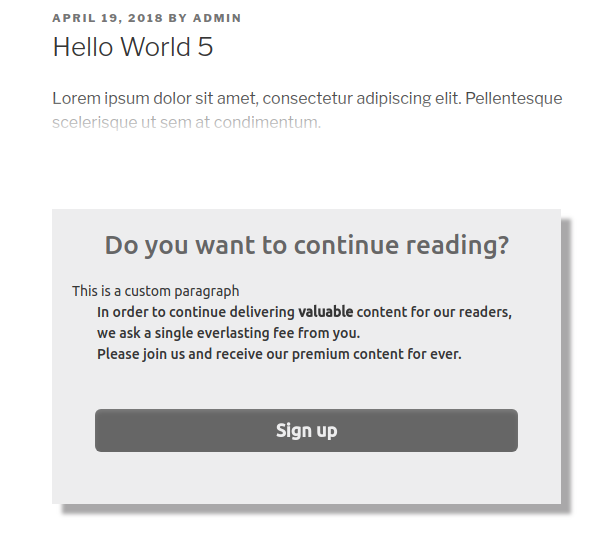
- Edit the single curtain with a change you might want, in this case we will add a div tag before the paragraph, you don’t have to use any of the markup in the curtain, as long as it ends up being the curtain you want to show to the customers:
<style type="text/css">
    .cust-pl-btn{
        background-color: rgba(6, 162, 184, 0.7);
        color: #ffffff;
        margin: 0 auto;
    }
</style>
<div id="PlenigoLogin">

    <div class="PlenigoStage">

        <h2><!--[CURTAIN_TITLE]--></h2>

	<div>This is a custom paragraph</div>

        <div class="PlenigoParagraph"><!--[CURTAIN_MSG]--></div>

        <p><!--[  PRODUCT _commented_ DETAILS   ]--></p>

        <div class="PlenigoFooter">
            <button class="btn btn-default enp-button cust-pl-btn" style="<!--[LOGIN_STYLE]-->" onclick="<!--[LOGIN_CLICK]-->"><!--[LOGIN_TITLE]--></button>
            <button class="btn btn-default enp-button cust-pl-btn" style="<!--[CUSTOM_STYLE]-->" onclick="<!--[CUSTOM_CLICK]-->"><!--[CUSTOM_TITLE]--></button>
            <button class="btn btn-default enp-button cust-pl-btn" style="<!--[BUTTON_STYLE]-->" onclick="<!--[BUTTON_CLICK]-->"><!--[BUTTON_TITLE]--></button>
        </div>
    </div>
</div>
Each tag in the format of is a replaceable variable that you can use in your own custom curtain.
After you have done the edit, you have to place the file in the root of your theme, so starting from the root of your WordPress installation it would be inside wp-content/themes/themenamehere, the curtain file name is plenigo-curtain-single.html, save it and after you have placed the file there, refresh a paywalled page and you should see the changes.
There are other templates you can override if you would like because the same principle applies, they are all in the same directory, will give a brief explanation of each template below:
Feeds Curtain
File: plenigo-curtain-feed.html
This curtain is used for WordPress feeds that are paywalled, by default it’s empty.
Search Curtain
File: plenigo-curtain-search.html
This is used for posts that are not singular, by default it’s empty.
Single Posts Curtain
File: plenigo-curtain-single.html
This is used for singular posts.
Google Analytics Import
File: plenigo-ga-include.html
This is the include used for Google Analytics.
Not Logged In Widget
File: plenigo-login-form.html
This is the page used by the widget when the user is not logged in.
Logged In Widget
File: plenigo-login-status.html
This is the page used by the widget when the user is logged in.
No JavaScript message
File: plenigo-noscript-msg.html
This is the page used to show a No JavaScript functionality.
User Profile Information
File: plenigo-user-profile.html
This is the page used to show the user profile(rendered by the pl_user_profile snippet.
Use Cases
Add product checkout to a post
- Make sure you have the Basic configuration for the plugin.
- Follow the Checkout button basic configuration .
Configure login widget
- Follow the OAuth basic configuration.
- Follow the Login widget configuration.
Add metered views to a post
- Make sure you have the Basic configuration for the plugin.
- Follow the Metered Views basic configuration
Replace default curtain
- Make sure you have the Basic configuration for the plugin.
- Have at least one post with Premium content configured.
- Currently there are 2 ways to change the curtain, choose one that suits you better ⋅⋅1 Custom Curtain HTML. ⋅⋅2 Custom Theme Curtain.
Integrate WordPress registration with plenigo
- Follow the OAuth Basic Configuration, preferably with the recommended settings.
- Follow the Login Widget Configuration, this is so the user can have a way to login.